Saved by the Kale

Healthy living is Happy living

Navigation
  • Home
  • Recipes
    • Appetizers
    • Breakfast
    • Entrees
    • Desserts
    • Gluten Free
    • Juices
    • Side Dish
    • Smoothies
    • Snacks
  • Minimalism
  • About
    • About Jen
    • About Jim
  • Jen’s Favorites
  • Mindful Intentions
  • Contact

No Bake Chewy Date Bars

January 11, 2016

No Bake Chewy Date Bars

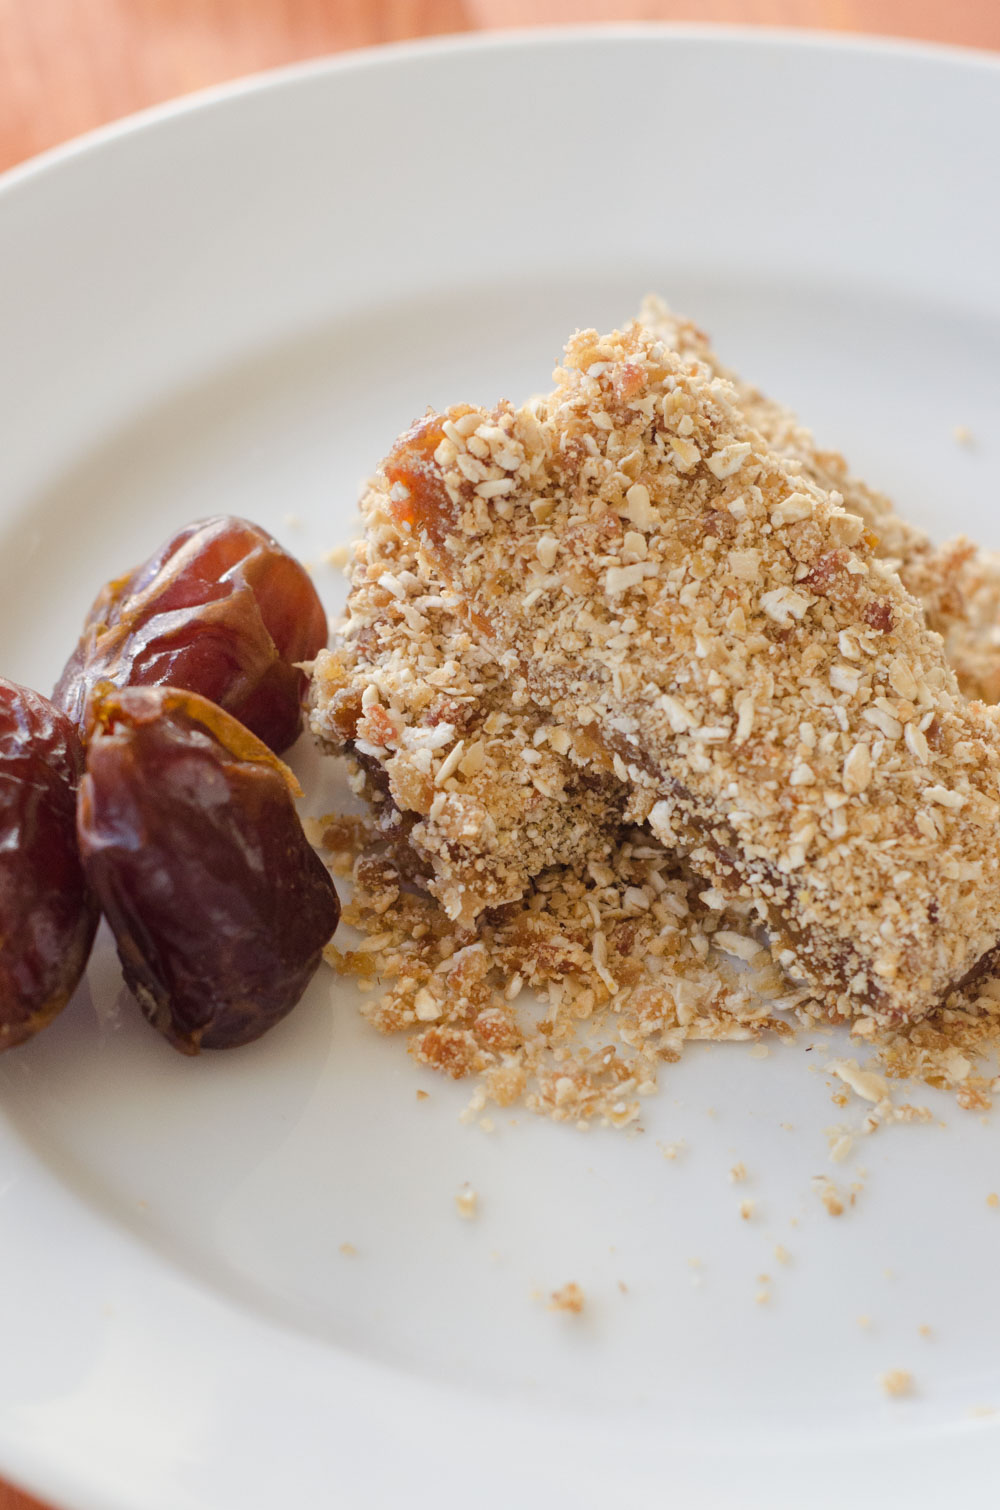
I knew when I went on this elimination diet that I was going to have to come up with some good alternatives for that something sweet that I love to have at night. These date bars were just that. It’s funny that up until about a year ago I have never even tasted a date and now I buy them in bulk and use them almost daily. They are nature’s candy and just perfect. 

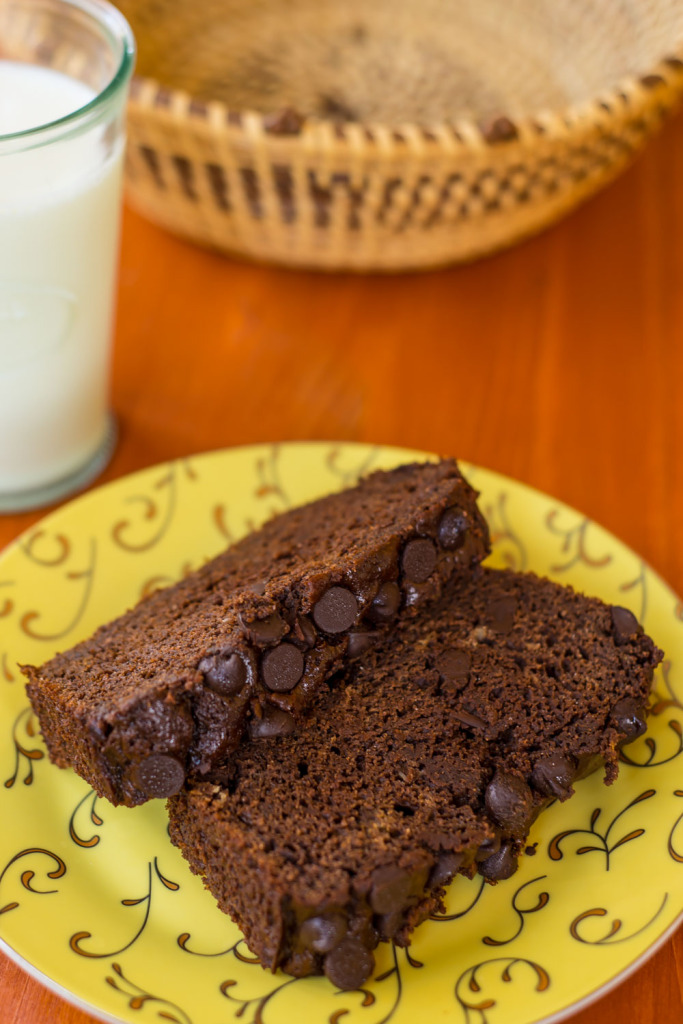
These bars are sweet, but have no added sugar and they have a slightly salty crunchy top and bottom with a soft chewy center. You can store them in the refrigerator or the freezer but I prefer the freezer, they are more firm that way. I love grabbing one for a quick breakfast or snack. It is so important for me to have some healthy options around for when a craving hits so that I won’t open the pantry and eat all the chocolate. 🙂 No seriously, it has happened! 

No Bake Chewy Date Bars

If you are looking for a healthy dessert that does not contain gluten, dairy, soy, sugar, or eggs and only takes about 10 minutes to make then do your self a favor and make these today! 

No Bake Chewy Date Bars
2016-01-04 23:48:56
Yields 10
Write a review
Save Recipe
Print
Prep Time
5 min
Cook Time
5 min
Prep Time
5 min
Cook Time
5 min
For the crust/crumble
  1. 1 1/2 cups Gluten Free Rolled Oats
  2. 1 1/2 cups Organic Brown Rice Crisps
  3. 8 Medjool dates, pitted and chopped
  4. 1/4 cup coconut oil, melted
  5. 1/2 tsp salt
For the filling
  1. 2 cups of Medjool dates, pitted
  2. 1/2 cup water
  3. 1/2 tsp vanilla
  4. 1/4 tsp salt
Instructions
  1. Line an 8x8 baking dish with parchment paper or foil.
  2. Using a food processor pulse the oats and brown rice crisps together until finely ground.
  3. Add in the chopped dates, coconut oil and salt and process until a dough is formed.
  4. Set aside 1 cup of the dough to use as the topping.
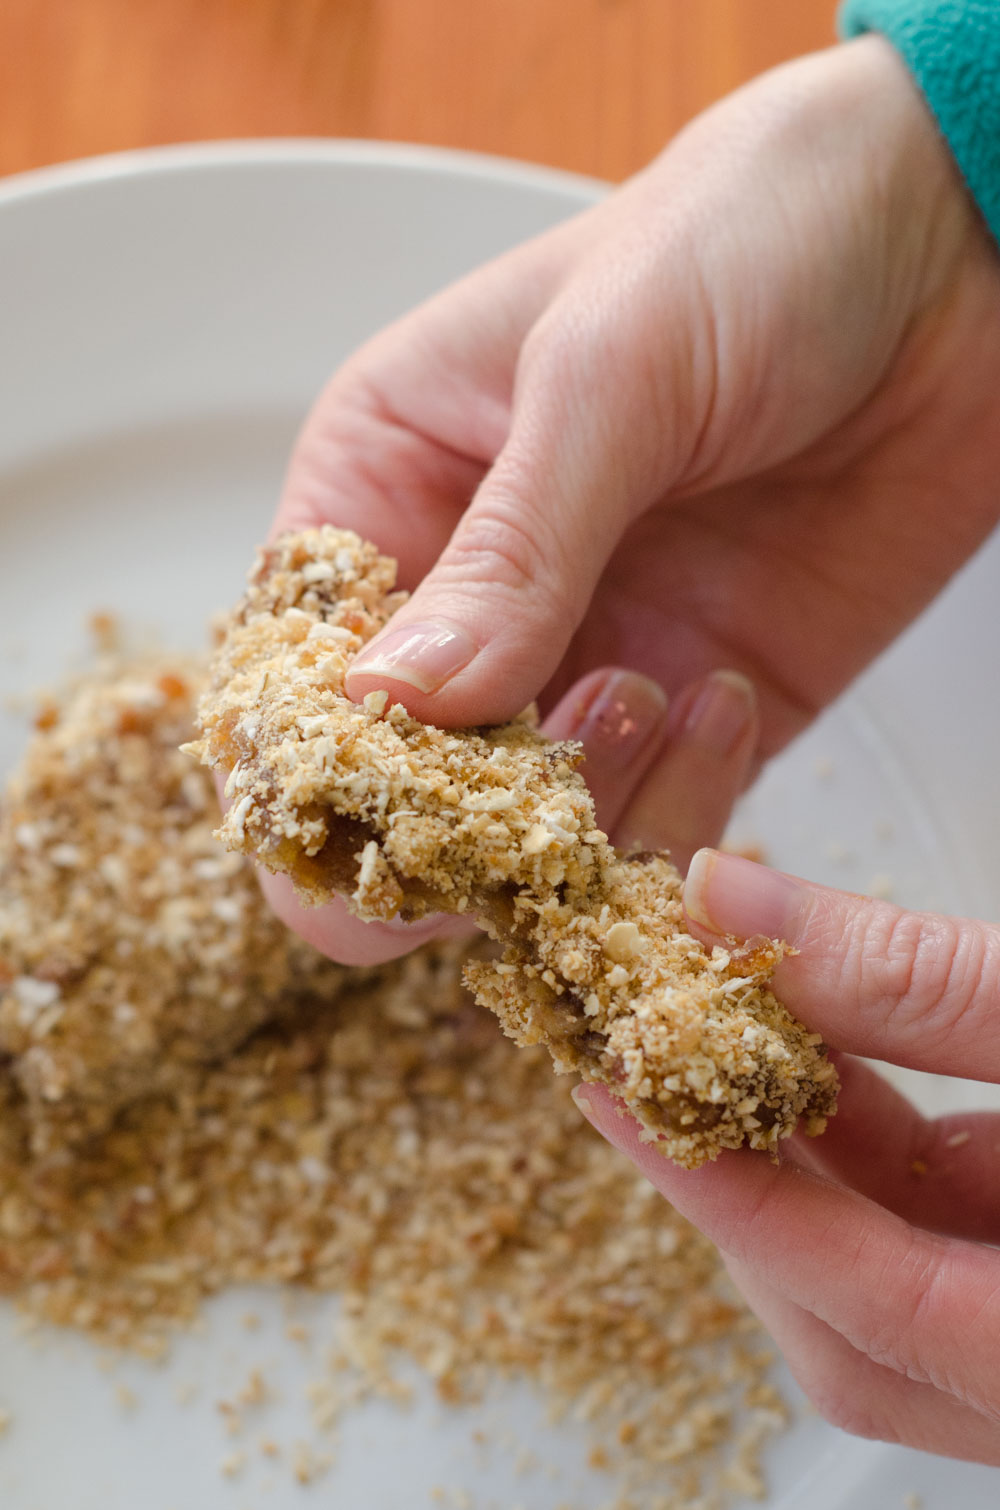
  5. Line the baking dish with the rest of the dough, using your fingers to gently press the dough down into the bottom of the pan.
  6. For the filling, combine all of the ingredients into the food processor and process until everything is broken down.
  7. Spread the filling over the crust evenly, then crumble the rest of the topping on the date filling using your fingers to gently press down.
  8. Then cover and place the bars in the freezer for an hour and then enjoy! Store the bars in the freezer.
By Jen @ SavedbytheKale
Adapted from http://detoxinista.com
Saved by the Kale http://savedbythekale.com/

Filed Under: Desserts, Elimination Diet, Gluten Free, Snacks Tagged With: chewy date bars, dairy free, dates, elimination diet, gluten free, soy free, sugar free, vegan

Dairy Free Cobbler Recipe

June 22, 2015

I love summertime and the abundance of fresh blackberries and blueberries! My freezer is now stocked up with frozen berries but I kept some out so I could make a cobbler. I have been craving one like crazy and I knew I wanted to make it dairy free. This recipe has zero dairy and zero refined sugar. The breading on top of the cobbler is absolutely delicious and the berries offer the perfect sweetness! Enjoy!!

Blackberry Cobbler

Dairy Free Berry Cobbler
2015-06-19 13:40:44
Serves 8
A delicious summer time treat using blackberries and blueberries! Dairy free and No refined sugar!
Write a review
Save Recipe
Print
Prep Time
10 min
Cook Time
45 min
Total Time
55 min
Prep Time
10 min
Cook Time
45 min
Total Time
55 min
For the filling
  1. 6 cups of a mixture of blackberries and blueberries
  2. 1/3 cup coconut sugar
  3. 1 Tbs. all-purpose flour
  4. 1 tsp. finely grated lemon zest
  5. Pinch of salt
For the topping
  1. 1 1/4 cups all-purpose flour
  2. 1/3 cup coconut sugar
  3. 2 tsp. baking powder
  4. 1/2 tsp. ground cinnamon
  5. 1/4 tsp. salt
  6. 1 egg
  7. 1/2 cup coconut milk
  8. 6 Tbs. coconut oil, melted and cooled
  9. 1/2 tsp. vanilla extract
Instructions
  1. Preheat an oven to 375ºF. Lightly grease a 2-quart baking dish.
  2. To make the filling, in a bowl, gently toss the berries with the sugar, flour, lemon zest and salt until blended. Pour into the prepared baking dish.
  3. To make the topping, in a bowl, stir together the flour, sugar, baking powder, cinnamon and salt. In another bowl, whisk together the egg, coconut milk, coconut oil and vanilla until well blended. Pour the egg mixture into the flour mixture and, using a rubber spatula, fold gently until the flour is moistened and the mixture forms a soft dough.
  4. Drop heaping spoonfuls of the dough onto the fruit, spacing them evenly; the dough will not completely cover the fruit. Bake until the filling is bubbling, the topping is browned and a toothpick inserted into the topping comes out clean, about 45 minutes. Serve warm or at room temperature.
Notes
  1. Great by itself or topped with dairy free ice cream or coconut whipped cream!
By Jen @ SavedbytheKale
Adapted from Williams Sonoma
Saved by the Kale http://savedbythekale.com/
IMG_4002


Filed Under: Desserts Tagged With: blackberry cobbler, blueberries, cobbler, dairy free, no refined sugar, summer

Whole Wheat Carrot Muffins

January 12, 2015

After the holidays and one too many delicious desserts Jim and I decided that we needed to give up refined sugars for a little while. We just felt like our bodies needed a little break from sugar. We decided that we didn’t want to give up all sugar and were okay with using honey or maple syrup in moderation. I was browsing around Pinterest and stumbled on these. The ingredients sounded great. White Whole Wheat flour, no refined sugar, and carrots! I’ll let you in on a little secret here….I’m one of those few people that has never tried carrot cake. I know crazy right?! I decided to give these muffins a try and I’m so glad I did because they are delicious. Moist, full of flavor from the spices, and even a little crunch from the carrots. These are perfect for a quick breakfast, snack, or a great addition to your child’s lunch box!

Whole Wheat Carrot Muffins

Whole Wheat Carrot Muffins
2015-01-08 18:23:50
Serves 12
Delicious and healthy muffins without refined sugars!
Write a review
Save Recipe
Print
Prep Time
15 min
Cook Time
20 min
Total Time
35 min
Prep Time
15 min
Cook Time
20 min
Total Time
35 min
Ingredients
  1. 1 1/2 cups white whole wheat flour
  2. 1 teaspoon baking soda
  3. 1 teaspoon ground cinnamon
  4. 1/2 teaspoon ground ginger
  5. 1/4 teaspoon ground nutmeg
  6. 1/8 teaspoon ground allspice
  7. 1/2 teaspoon salt
  8. 3 tablespoons salted butter, melted
  9. 1/2 cup pure honey (or maple syrup)
  10. 1 large egg
  11. 1 teaspoon pure vanilla extract
  12. 1 cup unsweetened applesauce
  13. 3/4 cup finely shredded carrot (2-3 medium carrots)
Instructions
  1. Preheat oven to 350 degrees F. Line a muffin pan with paper or silicone muffin liners (or grease the pan).
  2. In a large bowl, combine the whole wheat flour, baking soda, cinnamon, ginger, nutmeg, allspice, and salt. Whisk thoroughly.
  3. In a small bowl, combine the melted butter, honey, egg, vanilla extract, and applesauce and whisk to combine. Pour the wet ingredients into the dry ingredients. Stir just until combined.
  4. Fold in the shredded carrots, being careful not to over mix.
  5. Scoop batter into your prepared muffin tin. Bake for 18-20 minutes, or until a toothpick inserted into the center of a muffin comes out clean. Let cool a few minutes before serving.
Notes
  1. Recipe from naturalchow.com
Saved by the Kale http://savedbythekale.com/
 Bottom line, if you are looking for something to satisfy your sweet tooth without refined sugars then make these muffins! 

IMG_1845

Filed Under: Breakfast, Desserts, Snacks Tagged With: carrot muffins, muffins, no refined sugar, whole wheat, whole wheat carrot muffins

Chocolate Chocolate Chip Pumpkin Bread

December 17, 2014

I know, I know it’s not November anymore and everyone has probably moved on to Gingerbread and Peppermint…..but if you still have a can of pumpkin hanging out in your pantry then you are going to want to make this bread! First off let me say that I have made many different versions of pumpkin bread and I have several favorites…. but this has moved up to the #1 position! Actually it is my entire family’s favorite! I have made it a ridiculously embarrassing number of times over the last few weeks. In fact, after I finish writing this I’m going to see if there’s any left…. need my choco-pumpkin fix. Please don’t judge me 🙂

Chocolate Pumpkin Bread Recipe

The thing about this pumpkin bread is that it really doesn’t taste anything like pumpkin. If pumpkin wasn’t in the name you wouldn’t know it had any in it. It is basically an amazing Chocolately Bread and the pumpkin just gives the right amount of moistness to this bread. Seriously guys, trust me and go make this right now! 

This bread is basically a chocolate lovers dream come true. It’s breakfast, a snack, dessert all rolled in to one lovely package! And honestly the ingredient list is not too bad…so you can actually feel good about eating it!

Chocolate Chocolate Chip Pumpkin Bread
2014-12-15 01:32:33
The moistest, chocolaty-est, and most delicious pumpkin bread that I've ever made. This Chocolate Chip Pumpkin Bread is my family's new favorite.
Write a review
Save Recipe
Print
Prep Time
10 min
Total Time
55 min
Prep Time
10 min
Total Time
55 min
Ingredients
  1. 1/2 cup plain Greek yogurt
  2. 1/2 cup pumpkin puree
  3. 1/4 cup coconut oil, melted
  4. 1/4 cup plain unsweetened coconut milk
  5. 2 large eggs
  6. 1/2 cup brown sugar
  7. 1/2 coconut palm sugar
  8. 3/4 cup spelt flour
  9. 1/2 cup all purpose flour
  10. 1/2 cup cocoa powder
  11. 1 tsp baking soda
  12. 1/2 tsp salt
  13. 1/2 cup dark chocolate chips, divided
Instructions
  1. Preheat oven to 350 F. Grease an 8x4 inch baking pan.
  2. In a large bowl whisk together yogurt, pumpkin, coconut oil and coconut milk until combined.
  3. Add eggs, and whisk until incorporated.
  4. Stir in sugars until well combined.
  5. Add flours, cocoa powder, baking soda, and salt. Stir until just combined.
  6. Stir in 1/4 cup chocolate chips.
  7. Pour batter into pan.
  8. Sprinkle remaining 1/4 cup chocolate chips over batter.
  9. Bake for 40-45 minutes, or until a toothpick inserted in the center comes out clean. It's okay if it has some melted chocolate on it, but it shouldn't have any crumbs.
  10. Let it cool for 5-10 minutes.
  11. Enjoy!
By Jen @ SavedbytheKale
Adapted from www.ihearteating.com
Saved by the Kale http://savedbythekale.com/

Filed Under: Desserts, Featured, Pumpkin Everything, Recipes Tagged With: chocolate chip, pumpkin, pumpkin bread

  • 1
  • 2
  • 3
  • 4
  • Next Page »

Hi there!

Hi guys, it's Jen!

I love good food and simple living! Keep Reading…

Search Saved by the Kale

  • Email
  • Facebook
  • Instagram
  • Pinterest
  • RSS
  • Twitter
Follow on Bloglovin

Tasty Food Photography eBook

Features

Infinity Jars

Healthier Alternatives to Store Bought Spice Blends

Cast Iron Pan Pizza Recipe

Homemade Buffalo Chicken Pan Pizza

Chocolate Pumpkin Bread Recipe

Chocolate Chocolate Chip Pumpkin Bread

Copyright © 2023 · Foodie Theme by Shay Bocks · Built on the Genesis Framework · Powered by WordPress