Saved by the Kale

Healthy living is Happy living

Navigation
  • Home
  • Recipes
    • Appetizers
    • Breakfast
    • Entrees
    • Desserts
    • Gluten Free
    • Juices
    • Side Dish
    • Smoothies
    • Snacks
  • Minimalism
  • About
    • About Jen
    • About Jim
  • Jen’s Favorites
  • Mindful Intentions
  • Contact

3 Ingredient Oreo Truffles

November 26, 2014

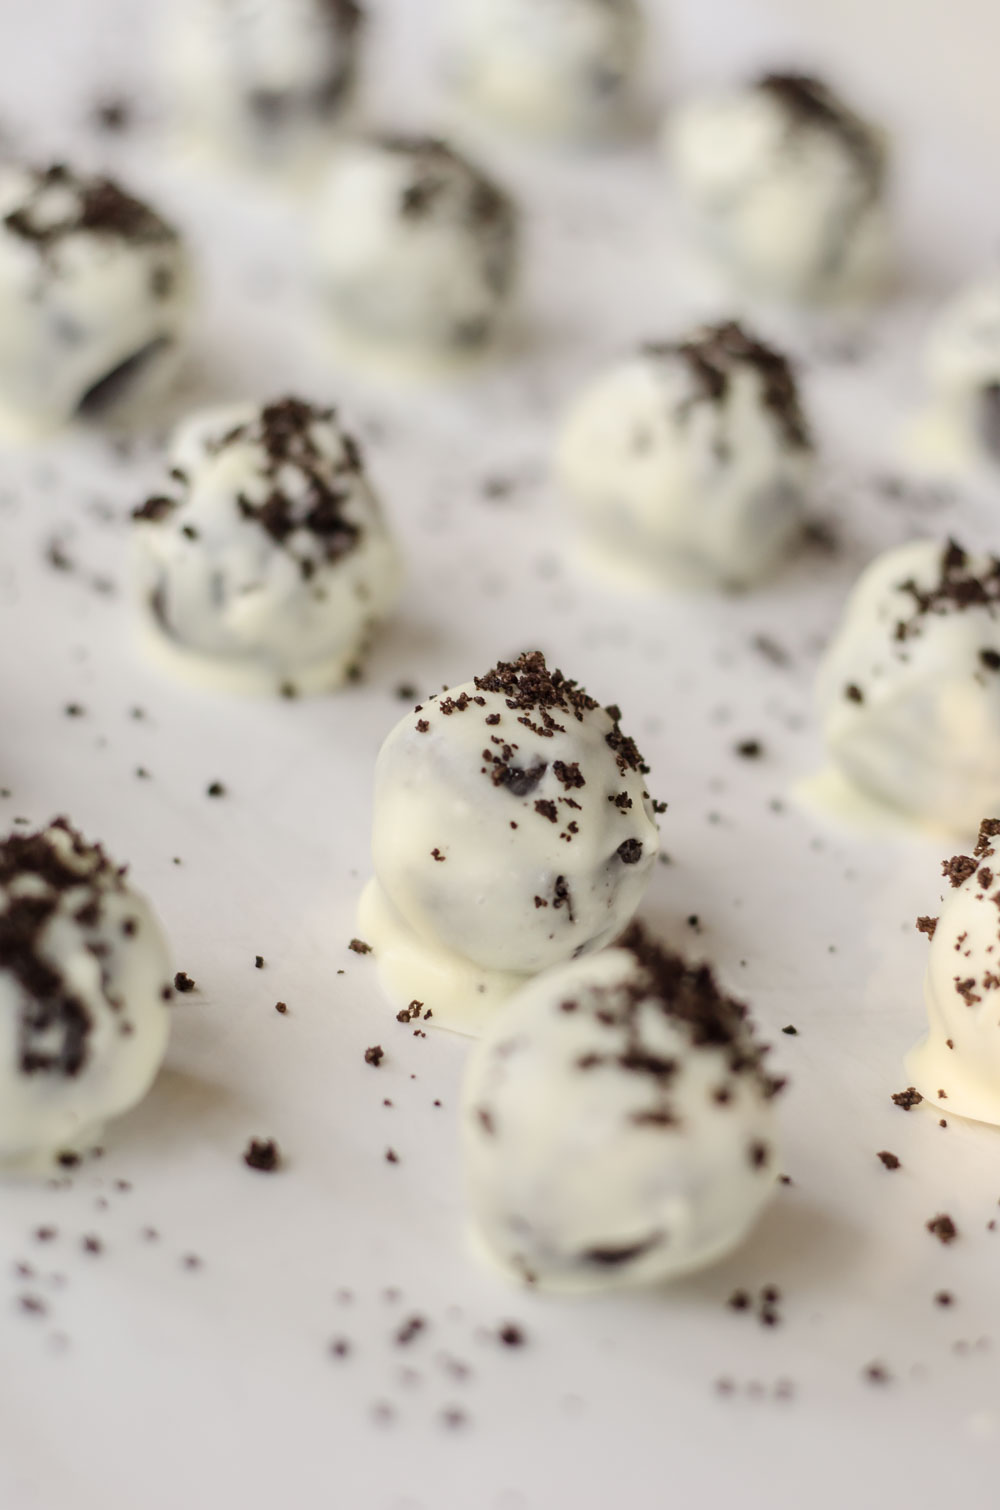
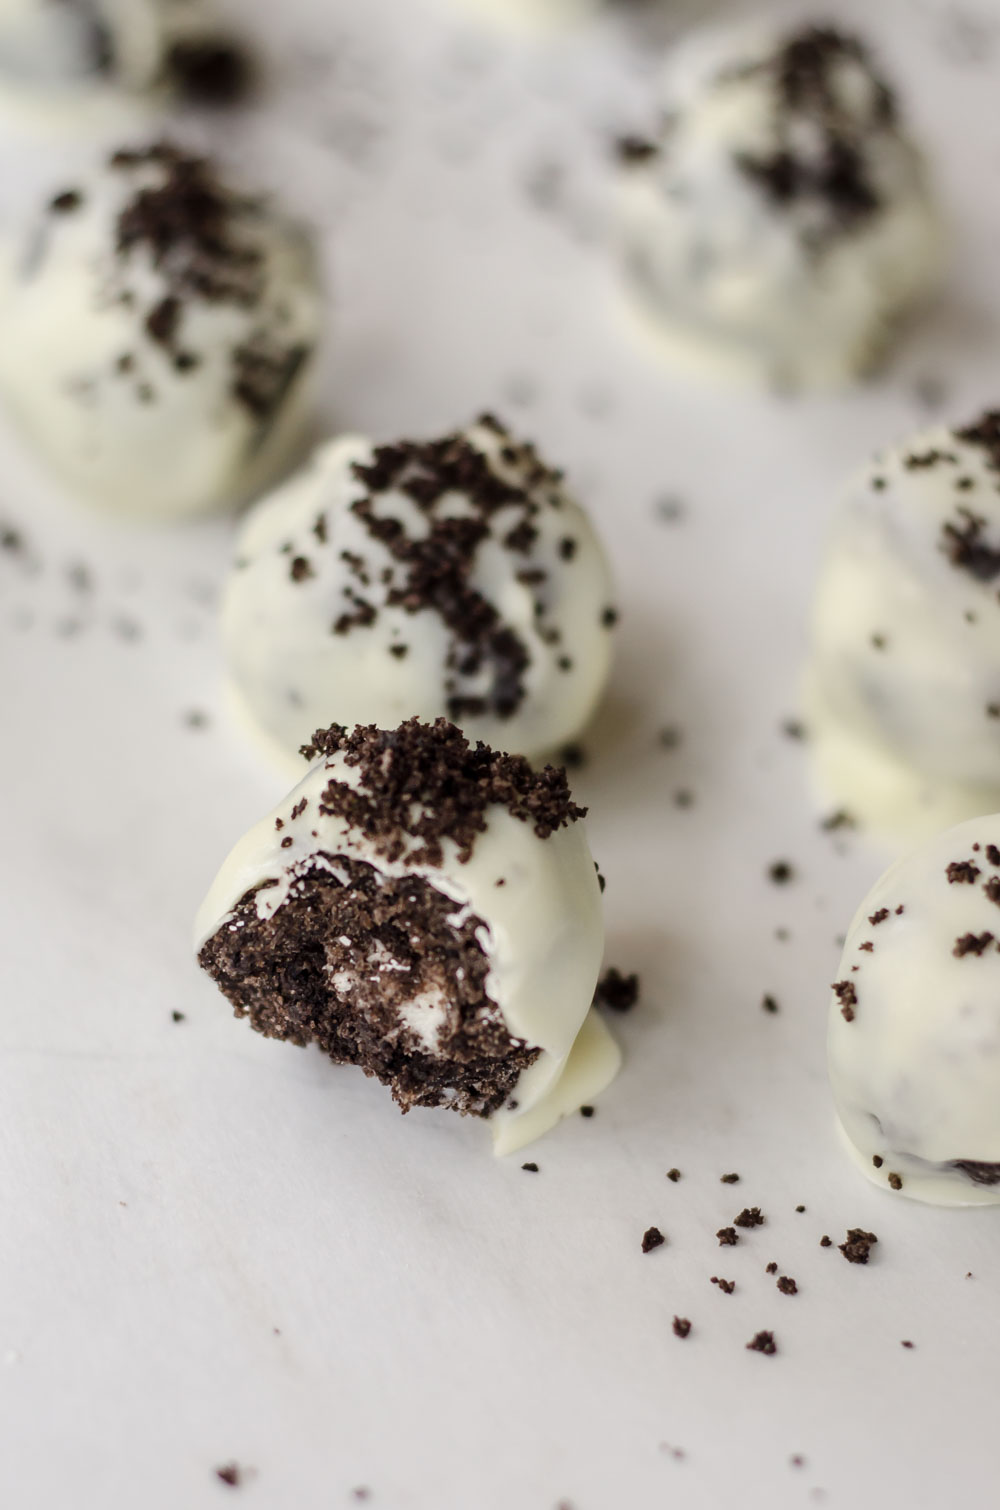
There are always certain foods that I associate with different times of the year. As soon as the Thanksgiving and Christmas holidays come along I think of all things dipped in chocolate. I have several favorites, and they are all very simple to make and taste delicious (more about the others in a later post :)). Sometimes I like to get the kids involved other times I like to turn on some Christmas music, unwind, and dip ALL. THE. THINGS. in CHOCOLATE! Oreo’s have always been one of my favorite cookies and these truffles are like biting into a little piece of heaven! All you need is 3 ingredients and about 30 minutes and you have the perfect holiday treat for parties, school, or to devour yourself.
Oreo Truffles Recipe

photo

3 Ingredient Oreo Truffles
2014-11-25 21:48:43
Yields 27
Easy, Delicious, and always a crowd pleaser! Only 3 ingredients!
Write a review
Save Recipe
Print
Prep Time
10 min
Cook Time
20 min
Total Time
30 min
Prep Time
10 min
Cook Time
20 min
Total Time
30 min
Ingredients
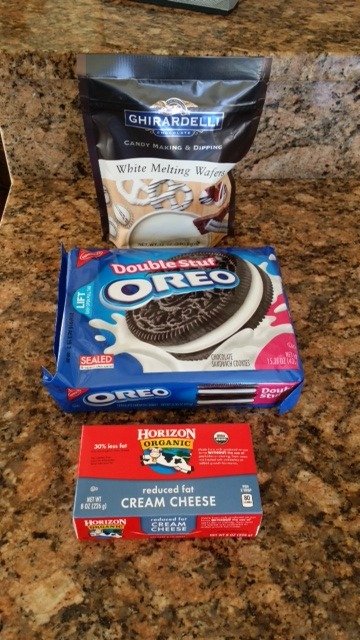
  1. 1 package of Double Stuffed Oreos
  2. 4 oz of cream cheese (softened)
  3. Ghirardelli White Chocolate Melting Wafers
Instructions
  1. Finely chop the entire package of Oreos in a food processor; reserve a little of the crushed Oreo to sprinkle on top of the truffles.
  2. In a bowl mash the softened cream cheese with the Oreos. (Don't be afraid to get your hands dirty!)
  3. Roll into 1 inch balls and place on a cookie sheet covered with parchment paper.
  4. Place in the freezer for 15 minutes.
  5. Melt the white chocolate using a double boiler.
  6. Dip the balls in the chocolate. Completely cover.
  7. Set them back on the parchment paper and garnish with the extra crushed Oreos before they harden.
  8. Let the chocolate set. I like to place them in the freezer for a few minutes because I want to eat them as soon as possible! Refrigerate and Enjoy!
By Jen @ SavedbytheKale
Saved by the Kale http://savedbythekale.com/
Oreo Truffles

And if you are like us you might want to make a double batch because these little things disappear quickly! Between the 4 of us these don’t last long… which makes me think why do I always wait to this time of the year to make them!?
Filed Under: Desserts, Featured, Recipes, Snacks Tagged With: dessert, holidays, oreo, oreo truffles, truffles

Pecan Pie Truffles

October 30, 2014

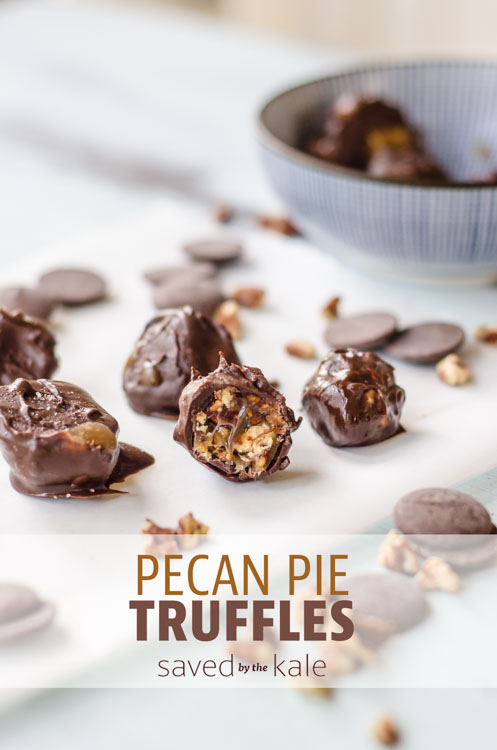
I have no doubt that you’re going to be quite angry with me once you make this recipe. Your upcoming Pecan Pie Truffles addiction can be squarely blamed on me… I’ll take it. These might be the most devilishly delicious fall treat that I’ve ever had. I love truffles with a passion and I’ve never had any that are better than these. 

I’ve always loved Pecan Pie filling, but not so much the crust. I’m not a huge fan of pies anyway. Most people tend to burn the crust when they’re making pecan pies… a big turnoff for me. So while Jen and I were planning what Fall themed recipes we wanted on the blog I mentioned pecan pie. I thought how delicious the filling would be and how much I would dread having to work with a crust just to be disappointed. Then and there the idea of pecan pie in truffle form took shape.

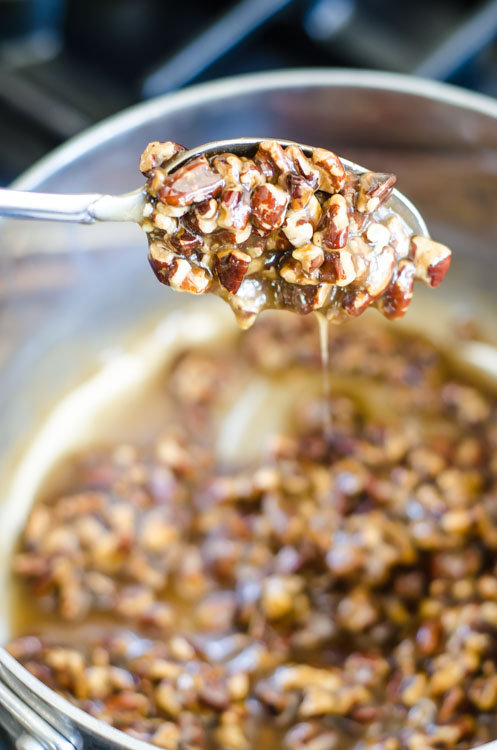
Pecan Pie Truffle filling

These are the stickiest, gooey-ist, pecan-iest, and best truffles that you’re going to have. I’m not kidding about the stickiest part… you’re going to get messy making these, but it’s totally worth it. They aren’t healthy in any way, but if you get invited to some creative truffle competition over the holidays then you’re well-prepared with these.

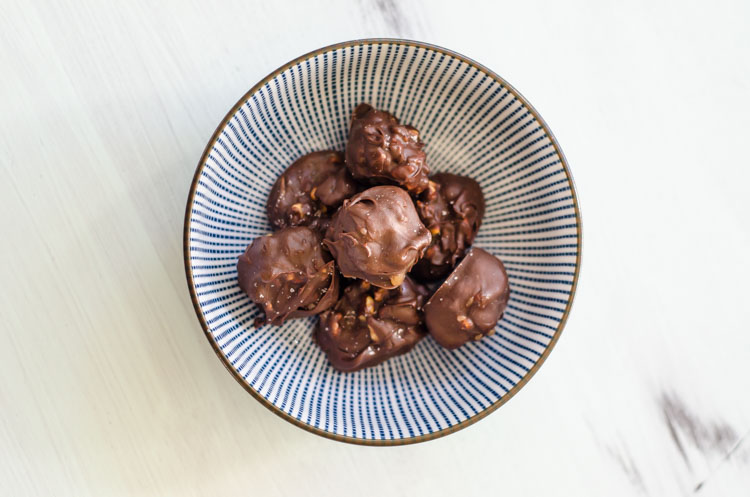
Pecan Pie Truffle recipe

On to the recipe…

Pecan Pie Truffles
2014-10-29 15:48:30
Yields 18
Gooey, chocolatey, sweet & delicious. Pecan Pie truffles are henceforth named the King of Truffles.
Write a review
Save Recipe
Print
Prep Time
10 min
Cook Time
30 min
Total Time
40 min
Prep Time
10 min
Cook Time
30 min
Total Time
40 min
Ingredients
  1. 3 Tbsp butter
  2. 1/2 C light brown sugar
  3. 1/2 C light corn syrup
  4. Dash kosher salt
  5. 2 Tbsp Vanilla extract
  6. 1.5 C toasted pecans, chopped
  7. 2 tsp bourbon (optional)
  8. 2 C dark chocolate
Instructions
  1. Make the filling: Place butter, brown sugar and corn syrup in a sauce pan over med-high heat. Bring to a boil, whisking frequently. Remove from heat and add pecans, salt, vanilla, and bourbon (if using). Stir to combine and cool in fridge until very firm.
  2. Prepare coating: Melt chocolate in a double-boiler and keep warm.
  3. Make truffles: Line a baking pan with parchment paper. Scoop filling out with a melon-baller and roll by hand into 1-inch spheres. Toss in melted chocolate to coat and place on parchment paper.
  4. Make the truffles in batches, putting the filling and the completed truffles in the freezer to keep them together.
  5. Store truffles in a covered container in the fridge.
By Saved by the Kale
Saved by the Kale http://savedbythekale.com/

Pecan Pie Truffles Recipe

Filed Under: Desserts, Featured, Recipes Tagged With: fall, nuts, pecan, pecan pie, truffles

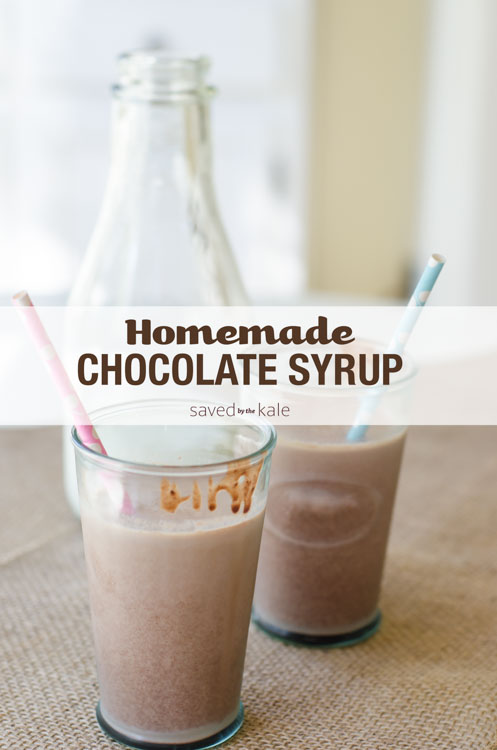
Homemade Chocolate Syrup

October 23, 2014

Hi everyone! Jim here, bringing another one of my favorite recipes. This one is definitely inspired by one of my favorite childhood treats… CHOCOLATE MILK. There’s nothing simpler and more delicious to kids (and grown-up kids like me) than liquid chocolatey goodness. 

Chocolate milk was my favorite easy treat growing up, probably because it was something that I could make myself and we almost always had the ingredients on hand. All you need is milk and chocolate syrup. I don’t know about you, but I was definitely team Hershey’s syrup growing up…. I wasn’t having that Nestle’s Quick.

One time at my grandma’s house (I was probably 8 or 9) I remember having a hankering for some chocolate milk. I looked through her cabinets and fridge and didn’t find chocolate syrup. I did find some cocoa powder though. I added the cocoa powder to a glass of milk, thinking I was just using a strangely named version of the dry chocolate milk mix. I learned quickly that it was most definitely not equivalent. Cocoa powder + milk =  a powdery mess that won’t mix. Looking back, that was my first attempt at homemade chocolate milk. I had no clue what I was doing, but I was definitely pointed in the right direction.

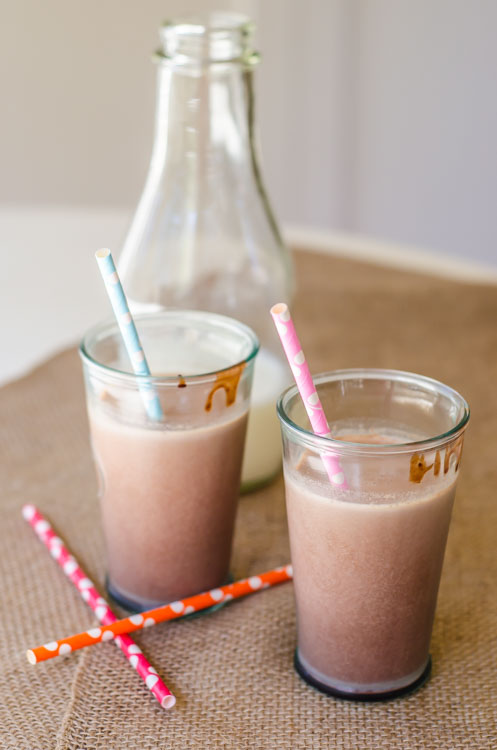
Homemade Chocolate Milk

Skip forward to present day and I’ve discovered the holy grail of chocolate fanaticism… the perfect recipe for homemade chocolate syrup. It’s pure chocolate bliss. This recipe makes incredible chocolate milk, is a wonderful topping for ice cream, and is the key ingredient in the greatest chocolate milkshakes you’ve ever had. And if you’re feeling particularly hedonistic, it’s great eaten right by itself. 

Chocolate syrup (and therefore chocolate milk) is really simple to make. Its simplicity is part of the beauty. The quality of your syrup depends entirely on the quality of the chocolate that you use… my current favorite is Callebaut dark chocolate. Plus, homemade chocolate syrup doesn’t have any nasty preservatives, flavorings, or anything else that’s wholly bad for you. Yep, there’s sugar, but it’s much less than what you get in the store bought syrups and prepared chocolate milks. Did you know that a lot of store-bought chocolate milk has corn syrup in it? No thanks.

 Chocolate Syrup Recipe


Homemade Chocolate Syrup
2014-10-22 14:31:10
Yields 1
Delicious, dark, and supremely chocolatey. This syrup makes irresistible chocolate milk and ice cream topping.
Write a review
Save Recipe
Print
Prep Time
5 min
Cook Time
5 min
Total Time
10 min
Prep Time
5 min
Cook Time
5 min
Total Time
10 min
Ingredients
  1. 1/2 C water
  2. 1/2 C sugar
  3. 1/2 C bittersweet chocolate, chopped (70%+ chocolate preferably)
  4. 2 Tsp vanilla extract
  5. Dash salt
Instructions
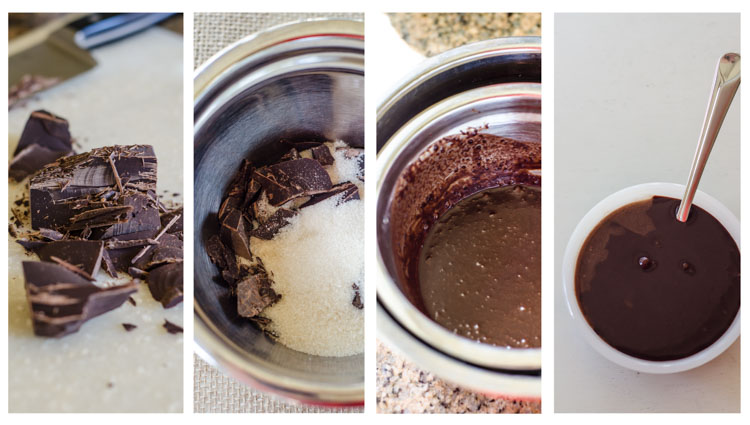
  1. Place the sugar and chocolate in a mixing bowl. Heat the water until almost boiling and power over the sugar and chocolate.
  2. Add salt and vanilla to chocolate and then let sit for 2 minutes so chocolate can melt. Whisk to combine.
  3. Place mixing bowl in an ice bath to quickly cool the syrup. Keep whisking until mixture is completely smooth.
  4. Store in an airtight container for up to 3 days.
Notes
  1. This syrup can get thick when refrigerated, that's normal. If you want a thinner syrup then add a little more water when making it.
  2. For chocolate milk, add 1 Tbsp syrup at a time to a glass of milk until desired chocolatey-ness is achieved.
By Saved by the Kale
Saved by the Kale http://savedbythekale.com/
We drink a lot of different milks in our house. I drink regular cow’s milk, Jen drinks goat’s milk or coconut milk (sometimes) and the kids drink almond milk. You can make chocolate versions of any of those. One of the items on my personal to-do list is to make a chocolate almond milk using this syrup. 

Homemade Chocolate Syrup Recipe

As you can see below, this recipe makes children happy! Enjoy!

Chocolate Milk Happy

Filed Under: Desserts, Drinks, Recipes Tagged With: chocolate, chocolate milk, chocolate syrup, dessert, homemade, recipes, treats

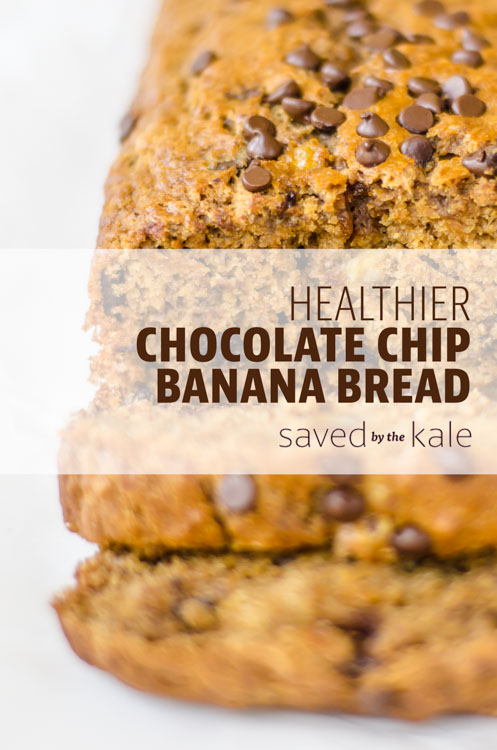
Healthier Chocolate Chip Banana Bread

October 9, 2014

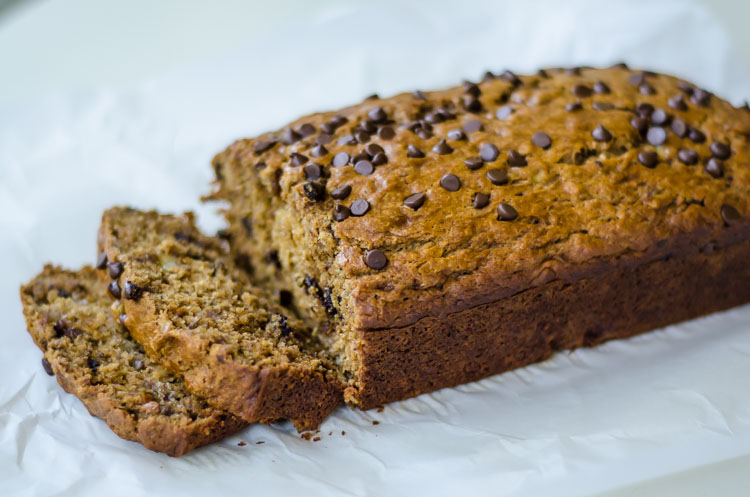
Healthier Banana Bread Recipe

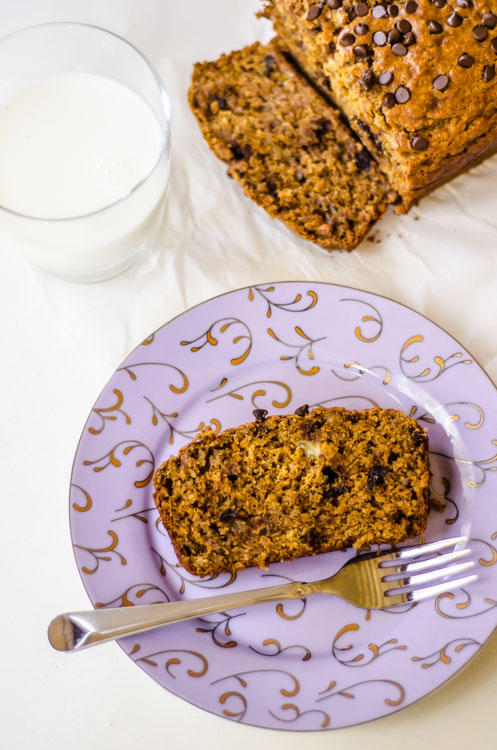
What do you do when you have an extra bunch of super ripe bananas sitting around…you make banana bread of course! My 2 girls request banana bread all the time so I have played around with making it lots of ways. This one is definitely a keeper. It is delicious, dense but still fluffy and moist and just sweet enough. Perfect for a quick breakfast in the morning or an afternoon snack when you get the munchies. 

Healthier Banana Bread Recipe

I love using coconut oil with this recipe and the coconut palm sugar is a healthier alternative to brown or white sugar.

 Healthier Banana Bread Recipe

Healthy Chocolate Chip Banana Bread
2014-10-08 00:13:15
A delicious dense, moist, and perfectly sweet banana bread. Made with healthy ingredients!
Write a review
Save Recipe
Print
Prep Time
10 min
Cook Time
45 min
Total Time
55 min
Prep Time
10 min
Cook Time
45 min
Total Time
55 min
Ingredients
  1. 4 ripe bananas
  2. 1/3 cup of coconut oil (melted)
  3. 1 egg
  4. 2/3 cup of coconut palm sugar
  5. 1 tsp vanilla extract
  6. 1 tsp baking soda
  7. 1/4 tsp salt
  8. 1 cup whole wheat pastry flour
  9. 1/2 cup self rising flour
  10. 1/2 cup dark chocolate chip (I use Enjoy Life) (reserve some for sprinkling on top)
Instructions
  1. Preheat oven to 350 degrees
  2. In a bowl mash bananas
  3. Add oil
  4. Whisk egg in a separate bowl, then add to bananas.
  5. Add sugar, vanilla, baking soda, and salt to bowl.
  6. Stir
  7. Then add flour and chocolate chips.
  8. Stir until incorporated.
  9. Pour into loaf pan and top with reserved chocolate chips.
  10. Bake for 45 minutes.
By Jen @ SavedbytheKale
Saved by the Kale http://savedbythekale.com/

Filed Under: Breakfast, Desserts, Featured, Snacks Tagged With: banana bread, chocolate chip banana bread, coconut oil, dairy free, dessert, healthy dessert, healthy snacks, snack

  • « Previous Page
  • 1
  • 2
  • 3
  • 4
  • Next Page »

Hi there!

Hi guys, it's Jen!

I love good food and simple living! Keep Reading…

Search Saved by the Kale

  • Email
  • Facebook
  • Instagram
  • Pinterest
  • RSS
  • Twitter
Follow on Bloglovin

Tasty Food Photography eBook

Features

Infinity Jars

Healthier Alternatives to Store Bought Spice Blends

Cast Iron Pan Pizza Recipe

Homemade Buffalo Chicken Pan Pizza

Chocolate Pumpkin Bread Recipe

Chocolate Chocolate Chip Pumpkin Bread

Copyright © 2025 · Foodie Theme by Shay Bocks · Built on the Genesis Framework · Powered by WordPress