Saved by the Kale

Healthy living is Happy living

Navigation
  • Home
  • Recipes
    • Appetizers
    • Breakfast
    • Entrees
    • Desserts
    • Gluten Free
    • Juices
    • Side Dish
    • Smoothies
    • Snacks
  • Minimalism
  • About
    • About Jen
    • About Jim
  • Jen’s Favorites
  • Mindful Intentions
  • Contact

Leftover Turkey and Vegetable Soup

December 10, 2014

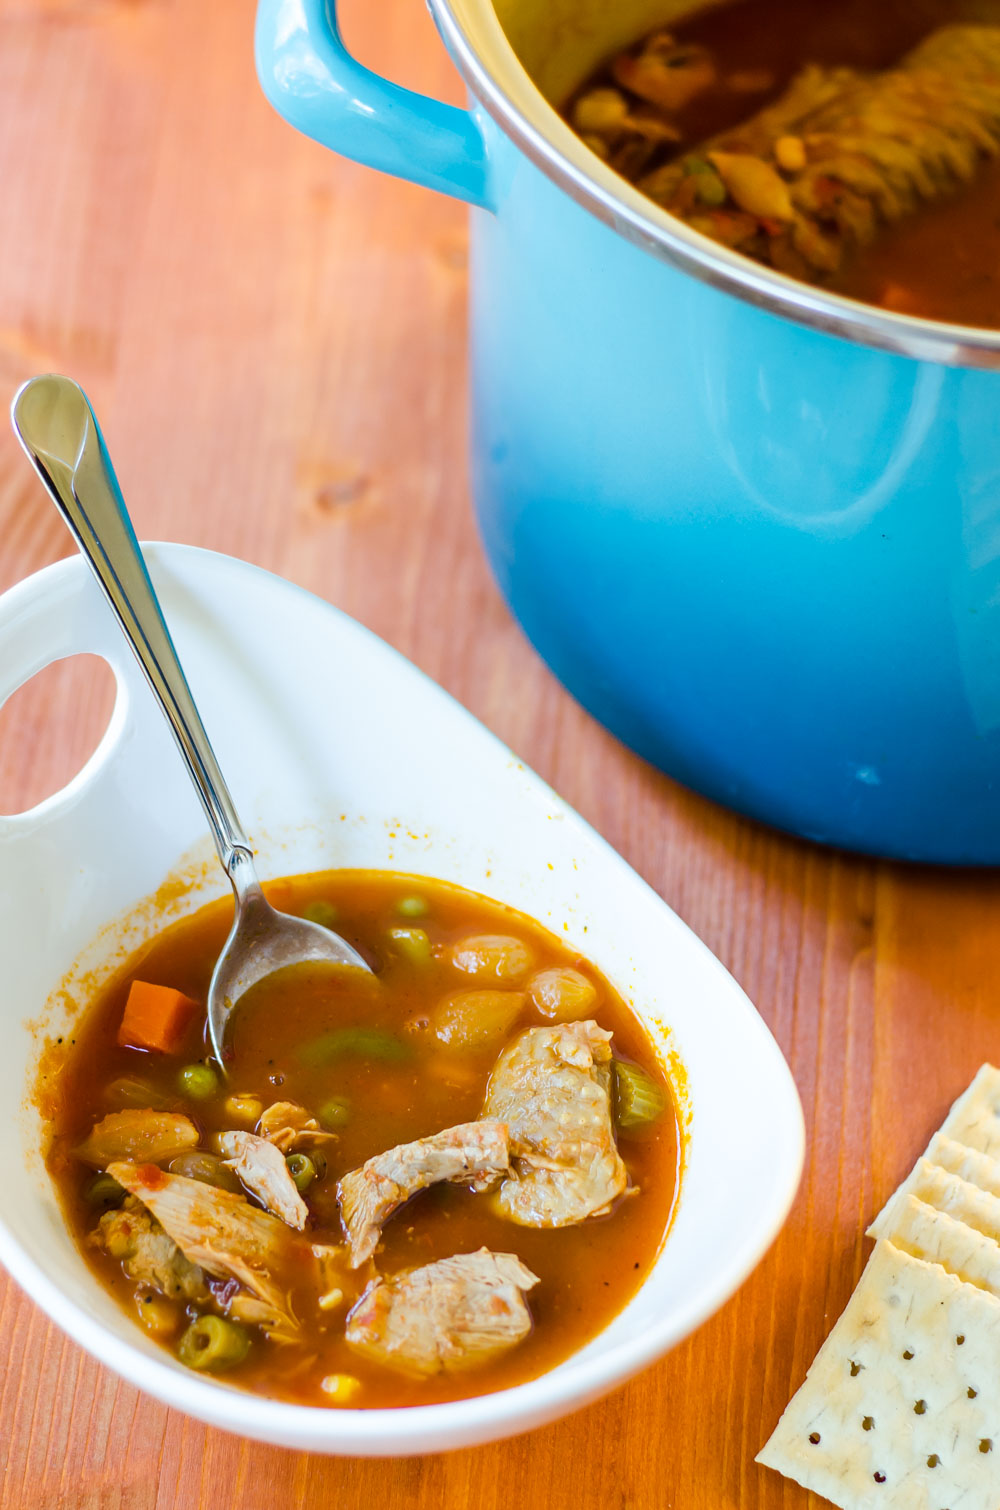
Looking for a new way to use the pounds of leftover Thanksgiving turkey? We always are too. This year we decided to make a turkey-loaded vegetable soup. The results were so good that we’re considering cooking turkey for soup and saving the leftovers for Thanksgiving ๐Ÿ™‚

Thanksgiving Leftovers Vegetable Soup

I have made lots of different soups before, but this one is hands down my new favorite. I am seriously considering roasting another turkey just so we can have another pot of this. The best part is that it was incredibly simple and it was ready to eat in no time. Really though, how can you go wrong if you’re starting off with delicious turkey?? You basically use whatever frozen veggies you have hanging out in your freezer. Go ahead….take a look, if you’re like us you have several partial bags hanging out in there begging to be used! Throw them all in the pot and you’re half way there! This time around we had some frozen corn, pearl onions, green peas and green beans. Our recipe below is really just an outline, feel free to adjust the veggies to your liking. 

Making a big pot of soup is a seriously tasty way to declutter the kitchen. I like making a pot at the end of the year, being sure to clean out whatever I have in the freezer (meats, veggies, whatever else) and even the pantry… this is a great use for those 2/3 empty boxes of pasta that have been in there for months. 

Leftover Turkey and Vegetable Soup
2014-12-08 17:54:05
The best way yet to use all that leftover Thanksgiving turkey. A delicious and healthy vegetable soup with tons of turkey.
Write a review
Save Recipe
Print
Ingredients
  1. 2 Lbs leftover turkey (white and/or dark meat)
  2. 3 C chicken broth
  3. 1 28oz can crushed tomatoes
  4. 1 C frozen pearl onions
  5. 2 C frozen corn
  6. 1 C frozen green peas
  7. 1 C frozen green beans
  8. 1 C celery, diced
  9. 1 C carrot, diced
  10. 2 C water
  11. 1 Tbsp sugar
  12. 1 Tbsp sriracha
Instructions
  1. Add everything to a large soup pot and cook over medium heat for up to 2 hours.
Notes
  1. Feel free to use any and all vegetables of your choice
By Jen @ Saved by the Kale
Saved by the Kale https://savedbythekale.com/
What’s your favorite way to use all that leftover Thanksgiving turkey?

Filed Under: Recipes, Soup Tagged With: leftovers, soup, thanksgiving, turkey, vegetable

Raspberry Kombucha Smoothie for Smoothie Week with Williams-Sonoma

December 8, 2014

A typical day for me starts with Jim and I waking up and getting Lily up and ready for school. Once she is off to school I head out for a run and Jim and Emma hang out. Jim starts working and Emma plays princess. ๐Ÿ™‚ After an hour of running I come back hot, sweaty and hungry! So basically a smoothie is the perfect breakfast for me no matter the season! 

Raspberry Kombucha Smoothie

There are several reasons I love them so much….

1. They are healthy and delicious.

2. They are quick and easy to make. (This is perfect when you are starving and don’t have a lot of time in the mornings.)

3. I can sip on it while I’m getting ready for the day.

4. They keep me going til lunch.

I’m teaming up with Williams-Sonoma to create a “Not Your Typical Smoothie” for Smoothie Week. This is fun for me since I love to switch up my smoothies and trying different combinations. It’s great for your body by getting different nutrients and it also keeps you from getting bored. For a while now I have been thinking about the possibility of creating a Kombucha smoothie. For those who may not be familiar with Kombucha it is a fermented tea beverage that is full of probiotics, antioxidants, and vitamins. It can help boost your immunity and balance the pH in your body. I usually have a glass with my lunch or before dinner, so why not breakfast?! 

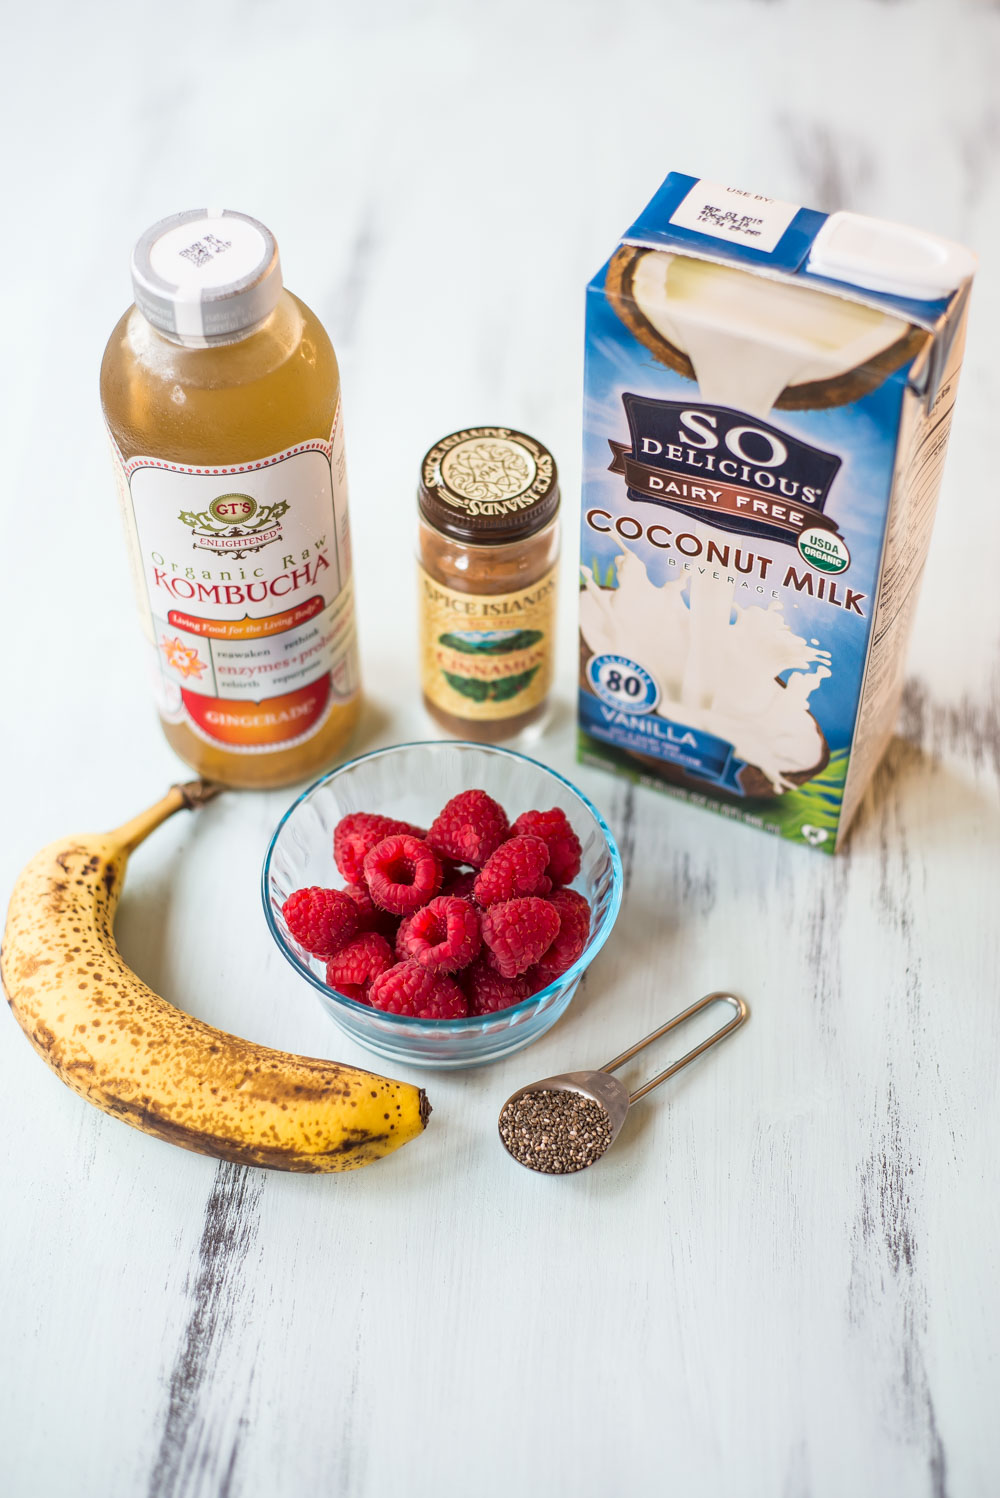
I wanted to make something festive for the holidays so I chose raspberries. I wanted a little Christmas-y spice so I chose Ginger Kombucha and added a dash of cinnamon. Frozen bananas gives this smoothie the perfect creaminess. When you blend it all together the color is beautiful light red. I took this smoothie one step further and whipped up my own coconut whip cream. This was my first making whipped coconut cream, and it was so simple! I used a can of full fat coconut milk that I refrigerated overnight so that the cream and the milk would separate in the can. Open up the can from the bottom, pour the milk in a separate bowl (save to use later). Scrape out the cream, add a little vanilla extract and honey use a hand mixer and beat it for about 3 minutes and you will have a fluffy mound of delicious dairy free whip cream! This smoothie is the perfect blend of tangy, fruity, and sweet, not too mention extremely good for you! 

Raspberry Kombucha Smoothie
2014-12-05 20:13:15
Serves 1
A little bit of spice and alot of creaminess with a little kick of Kombucha!
Write a review
Save Recipe
Print
Ingredients
  1. 1 cup of frozen bananas
  2. 1 cup of raspberries
  3. 3/4 cup of vanilla coconut milk
  4. 1 tsp chia seeds
  5. 1/2 tsp of cinnamon
  6. 3 tbsp of Ginger Kombucha (I used GT's Gingerade)
Instructions
  1. Put all the ingredients in the blender and blend until smooth.
  2. If you feel like getting fancy make the coconut whip cream and top smoothie.
  3. Enjoy!
By Jen @ SavedbytheKale
Saved by the Kale https://savedbythekale.com/
Raspberry Kombucha Smoothie 

When making a smoothie it really helps to have a good blender. I use a Vitamix and it makes smoothie making as quick as 30 seconds! Don’t forget to check out these great blender options at Williams-Sonoma!


Filed Under: Featured, Recipes, Smoothies, Snacks Tagged With: chia, chia seeds, cinnamon, frozen banana, Kombucha, raspberry, smoothie

No Mayo Tuna Salad

December 1, 2014

Ever since I was a small child I have disliked mayonnaise. I have no idea why or what I tasted that turned me off but I just did not like the stuff. I would avoid it at all costs. As an adult I still don’t like it. I would never put it on a sandwich. I do sometimes eat things that have mayo in it if it is very well disguised, but honestly I would rather not have it all. Bottom line I just think it is gross. Thankfully there are ways to get around eating things like tuna salad without adding it. Avocados actually make a great substitute for the nasty white stuff. ๐Ÿ™‚ 

No Mayo Tuna Salad

Avocados are a healthy mono-unsaturated fat and are one of the healthiest foods you can eat. I love the way avocados taste but even if you don’t, once you mash it up with your tuna you really do not even know it’s there. 

Now let’s talk about tuna for a second. I am picky when choosing the tuna that I buy and eat. I have tried many kinds, but I will save you some time here. If you want the best then you need to look into buying Wild Planet Albacore Tuna. All of their tuna is cooked only once in the can retaining all of its natural juices and Omega 3 oils, and is packed in the cans with no added water or oil. Their tuna also contains less mercury than other brands. You can absolutely taste the difference. It may cost a little more than other brands but if quality and taste matter to you then Wild Planet is the way to go. This isn’t an ad for Wild Planet, I just enjoy it so much and thought I would share.

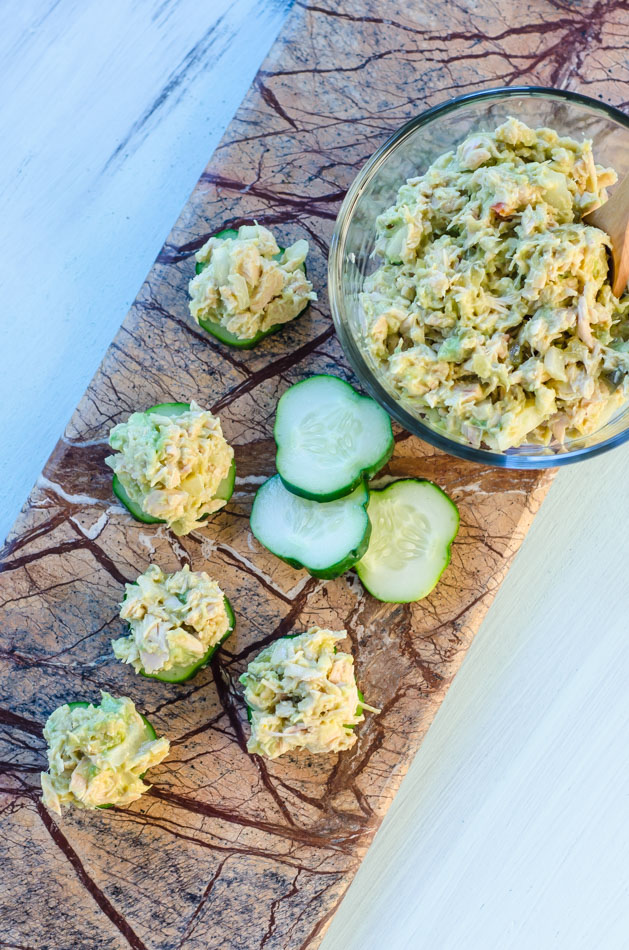
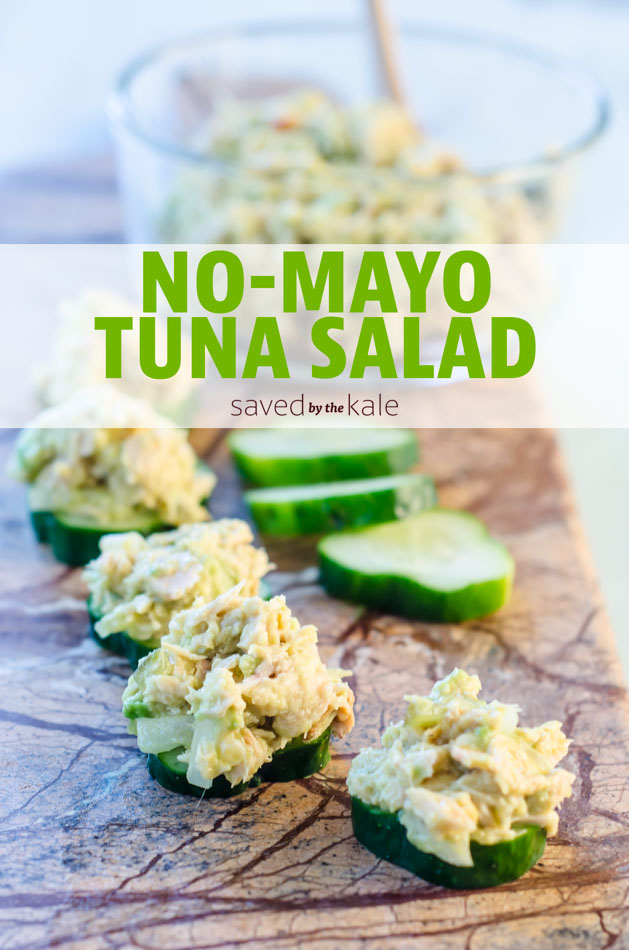
Sometimes I eat my tuna salad as wrap using these homemade tortillas, other times I will eat it with pita chips, or dip it up in bell pepper strips or cucumbers. No matter how you like to eat it, if you enjoy tuna salad and are looking for a way to change it up and make it better for you then give this recipe a try!

No Mayo Tuna Salad
2014-11-12 00:57:47
Healthy delicious tuna salad made avocado instead of mayonnaise!
Write a review
Save Recipe
Print
Prep Time
5 min
Cook Time
5 min
Total Time
10 min
Prep Time
5 min
Cook Time
5 min
Total Time
10 min
Ingredients
  1. 1 can of Wild Planet Albacore Tuna
  2. 1/2 of an avocado
  3. 2 tbsp chopped onion
  4. 1 tbsp pickle relish
  5. 1 tbsp jalapeno mustard (or regular mustard)
  6. salt and pepper to taste
Instructions
  1. In a bowl flake the tuna. Then add the avocado and mash together.
  2. Add in the rest of the ingredients and stir until everything is incorporated.
  3. Enjoy!
By Jen @ SavedbytheKale
Saved by the Kale https://savedbythekale.com/
 No Mayo Tuna Salad

Filed Under: Entrees, Snacks Tagged With: avocado, no-mayo, salad, tuna salad

3 Ingredient Oreo Truffles

November 26, 2014

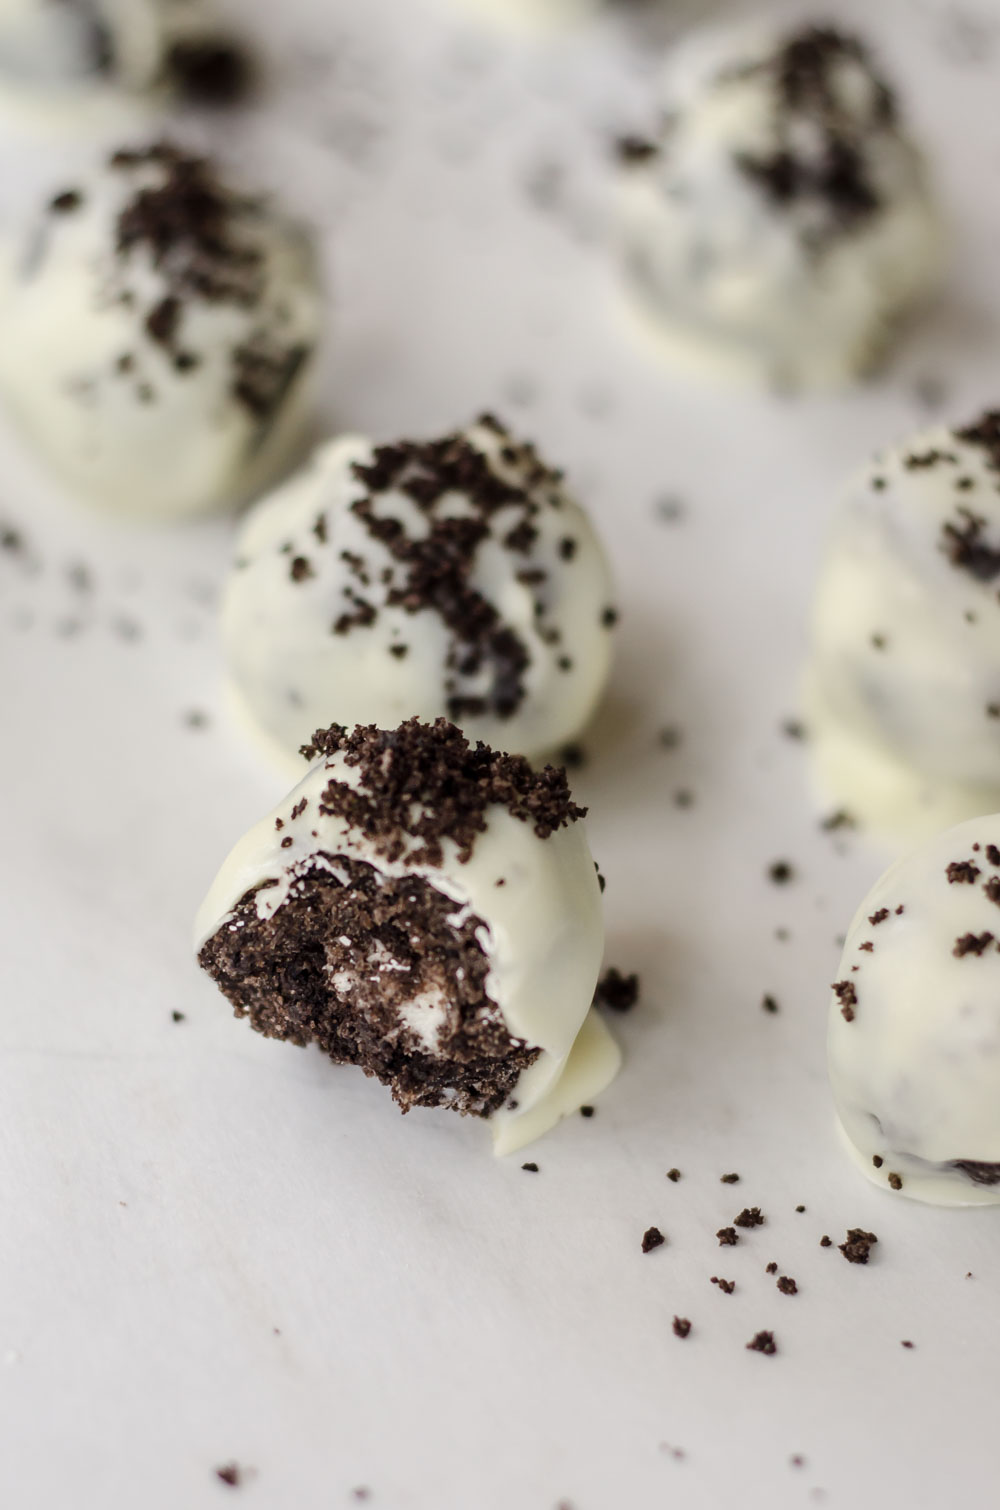
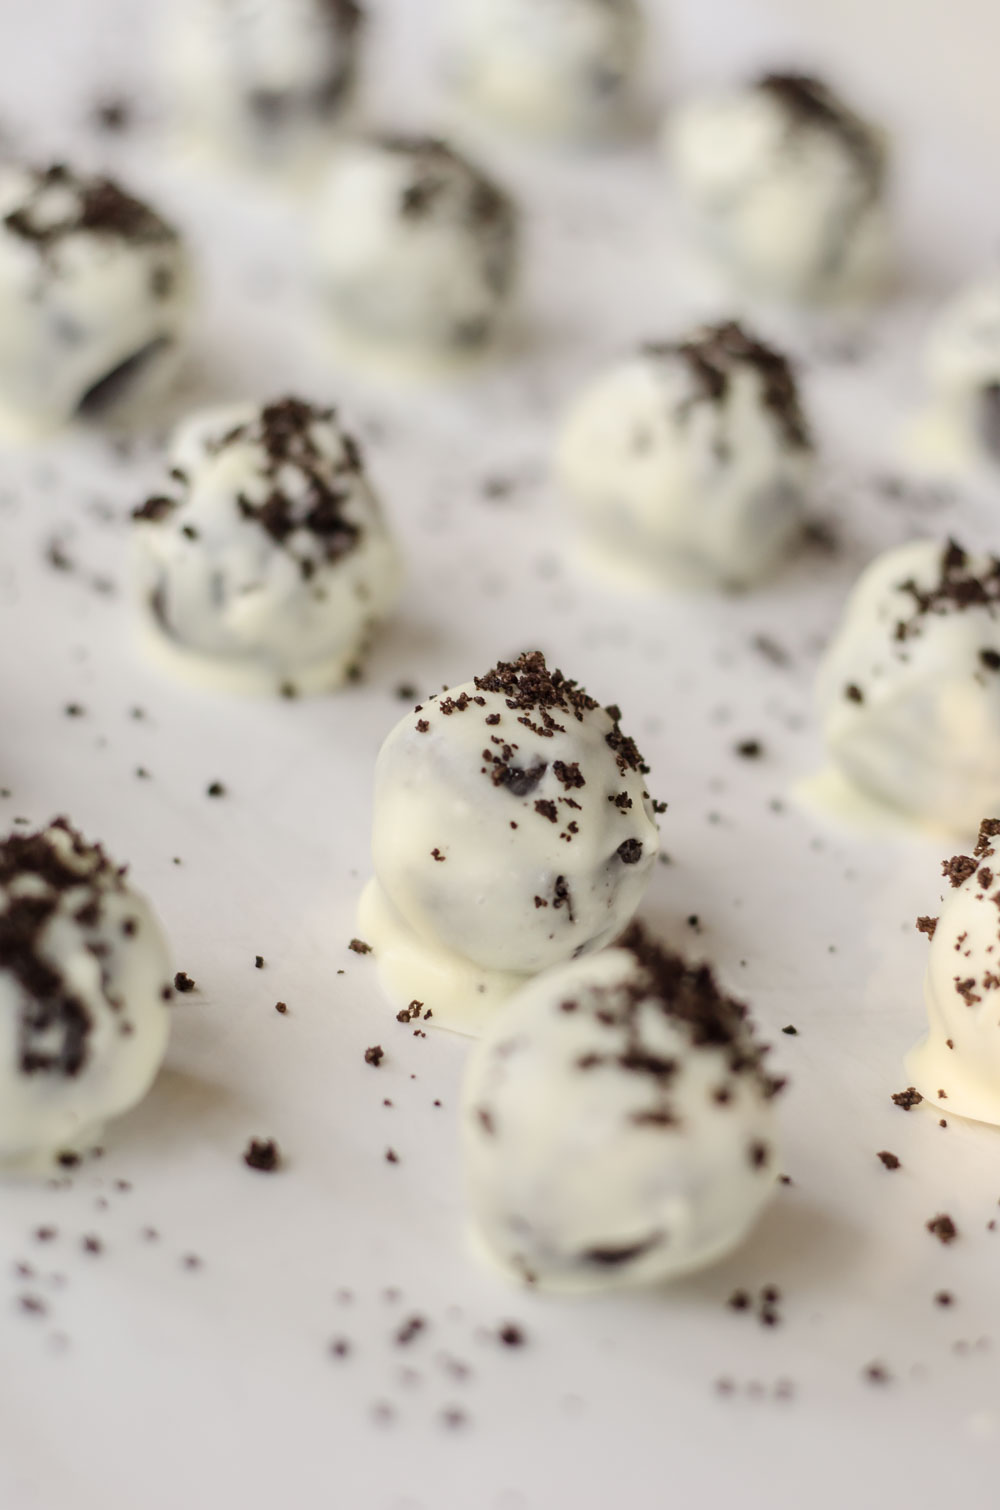
There are always certain foods that I associate with different times of the year. As soon as the Thanksgiving and Christmas holidays come along I think of all things dipped in chocolate. I have several favorites, and they are all very simple to make and taste delicious (more about the others in a later post :)). Sometimes I like to get the kids involved other times I like to turn on some Christmas music, unwind, and dip ALL. THE. THINGS. in CHOCOLATE! Oreo’s have always been one of my favorite cookies and these truffles are like biting into a little piece of heaven! All you need is 3 ingredients and about 30 minutes and you have the perfect holiday treat for parties, school, or to devour yourself.

Oreo Truffles Recipe

photo

3 Ingredient Oreo Truffles
2014-11-25 21:48:43
Yields 27
Easy, Delicious, and always a crowd pleaser! Only 3 ingredients!
Write a review
Save Recipe
Print
Prep Time
10 min
Cook Time
20 min
Total Time
30 min
Prep Time
10 min
Cook Time
20 min
Total Time
30 min
Ingredients
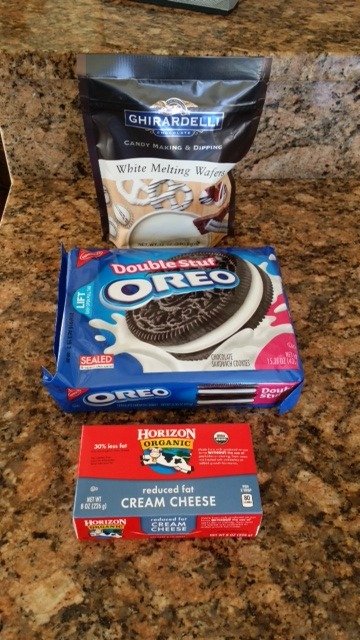
  1. 1 package of Double Stuffed Oreos
  2. 4 oz of cream cheese (softened)
  3. Ghirardelli White Chocolate Melting Wafers
Instructions
  1. Finely chop the entire package of Oreos in a food processor; reserve a little of the crushed Oreo to sprinkle on top of the truffles.
  2. In a bowl mash the softened cream cheese with the Oreos. (Don't be afraid to get your hands dirty!)
  3. Roll into 1 inch balls and place on a cookie sheet covered with parchment paper.
  4. Place in the freezer for 15 minutes.
  5. Melt the white chocolate using a double boiler.
  6. Dip the balls in the chocolate. Completely cover.
  7. Set them back on the parchment paper and garnish with the extra crushed Oreos before they harden.
  8. Let the chocolate set. I like to place them in the freezer for a few minutes because I want to eat them as soon as possible! Refrigerate and Enjoy!
By Jen @ SavedbytheKale
Saved by the Kale https://savedbythekale.com/
Oreo Truffles

And if you are like us you might want to make a double batch because these little things disappear quickly! Between the 4 of us these don’t last long… which makes me think why do I always wait to this time of the year to make them!?

Filed Under: Desserts, Featured, Recipes, Snacks Tagged With: dessert, holidays, oreo, oreo truffles, truffles

  • « Previous Page
  • 1
  • …
  • 4
  • 5
  • 6
  • 7
  • 8
  • …
  • 20
  • Next Page »

Hi there!

Hi guys, it's Jen!

I love good food and simple living! Keep Readingโ€ฆ

Search Saved by the Kale

  • Email
  • Facebook
  • Instagram
  • Pinterest
  • RSS
  • Twitter
Follow on Bloglovin

Tasty Food Photography eBook

Features

Infinity Jars

Healthier Alternatives to Store Bought Spice Blends

Cast Iron Pan Pizza Recipe

Homemade Buffalo Chicken Pan Pizza

Chocolate Pumpkin Bread Recipe

Chocolate Chocolate Chip Pumpkin Bread

Copyright © 2025 · Foodie Theme by Shay Bocks · Built on the Genesis Framework · Powered by WordPress