Saved by the Kale

Healthy living is Happy living

Navigation
  • Home
  • Recipes
    • Appetizers
    • Breakfast
    • Entrees
    • Desserts
    • Gluten Free
    • Juices
    • Side Dish
    • Smoothies
    • Snacks
  • Minimalism
  • About
    • About Jen
    • About Jim
  • Jen’s Favorites
  • Mindful Intentions
  • Contact

How to Make Cold Brew Coffee

January 20, 2016

I fell in love with cold brew coffee about a year ago. Before that I could not understand why anyone would ever drink coffee cold. Coffee is supposed to be warm and cozy, right? I’m really not sure what possessed me to try it cold but I did. It was iced coffee and surprisingly I really liked it! From there I moved on to cold brew and I have never looked back! Cold brew is very different from iced coffee. Iced coffee is coffee that was brewed hot and then chilled and poured over ice. To make cold brew you steep coffee grounds in room temperature water for an extended amount of time. Since the coffee beans do not come in contact with heated water you are left with smooth and sweet coffee that is much less acidic than hot brewed coffee.

I started out buying my cold brew from various companies, and I enjoyed that, but living in small town meant that I had to drive an hour and a half away, purchase my cold brew in bulk, and pray that I did’t run out until I went back. I quickly got tired of that and decided to try making it myself.

It is very important to use high quality organic coffee beans. Conventional coffee beans have been bathed in chemicals and pesticides before it reaches your cup. No thank you, organic is the way to go. Then you will need to grind the beans, but leave them coarsely ground. Then pour your grounds into a large bowl. I have an eight cup glass measuring cup that I use as my bowl. Then add your water. I use room temperature bottled water. Stir to make sure all the grounds are covered in water. Cover your bowl and let it sit on your counter for 20-24 hours. 

How To Make Cold Brew Coffee : Part 1 Just a few easy steps and you can have your own cold brew coffee anytime you want it.

A video posted by Jennifer Lastinger (@savedbythekale) on Jan 19, 2016 at 4:51pm PST

After your coffee has finished steeping you need to use some cheesecloth to strain the coffee grounds. Once your coffee is strained you can bottle it in mason jars and keep it in the refrigerator. It will good to use for several weeks! Play around with how you like to drink it. I like to drink mine at a 1:1 ratio. 1 part coffee to 1 part coconut milk. Look for a post soon on how I like to sweeten my cold brew naturally without adding any creamers or sugar.

How To Make Cold Brew Coffee : Part 2 So easy and so much better than anything you can buy!

A video posted by Jennifer Lastinger (@savedbythekale) on Jan 19, 2016 at 4:55pm PST


Cold Brew Coffee
2016-01-04 01:18:21
Sweet and Smooth Cold Brew Coffee
Write a review
Save Recipe
Print
Ingredients
  1. 3 oz of coffee beans
  2. 8 cups of filtered water
Instructions
  1. Using a kitchen scale measure out 3 oz of coffee beans.
  2. Coarsely grind the beans.
  3. Place the beans in a large bowl or measuring cup and fill with 8 cups of water.
  4. Gently stir to make sure all the beans are submerged in the water.
  5. Cover and let steep on your counter for 20-24 hours.
  6. Then place cheesecloth over a strainer and place it over a clean bowl and strain the coffee.
  7. Bottle your coffee in mason jars and refrigerate. Your cold brew is ready to enjoy!
By Jen @ SavedbytheKale
Saved by the Kale https://savedbythekale.com/

Filed Under: Drinks, Jen's Favorites Tagged With: cold brew, cold brew coffee, how to make cold brew coffee

No Bake Chewy Date Bars

January 11, 2016

No Bake Chewy Date Bars

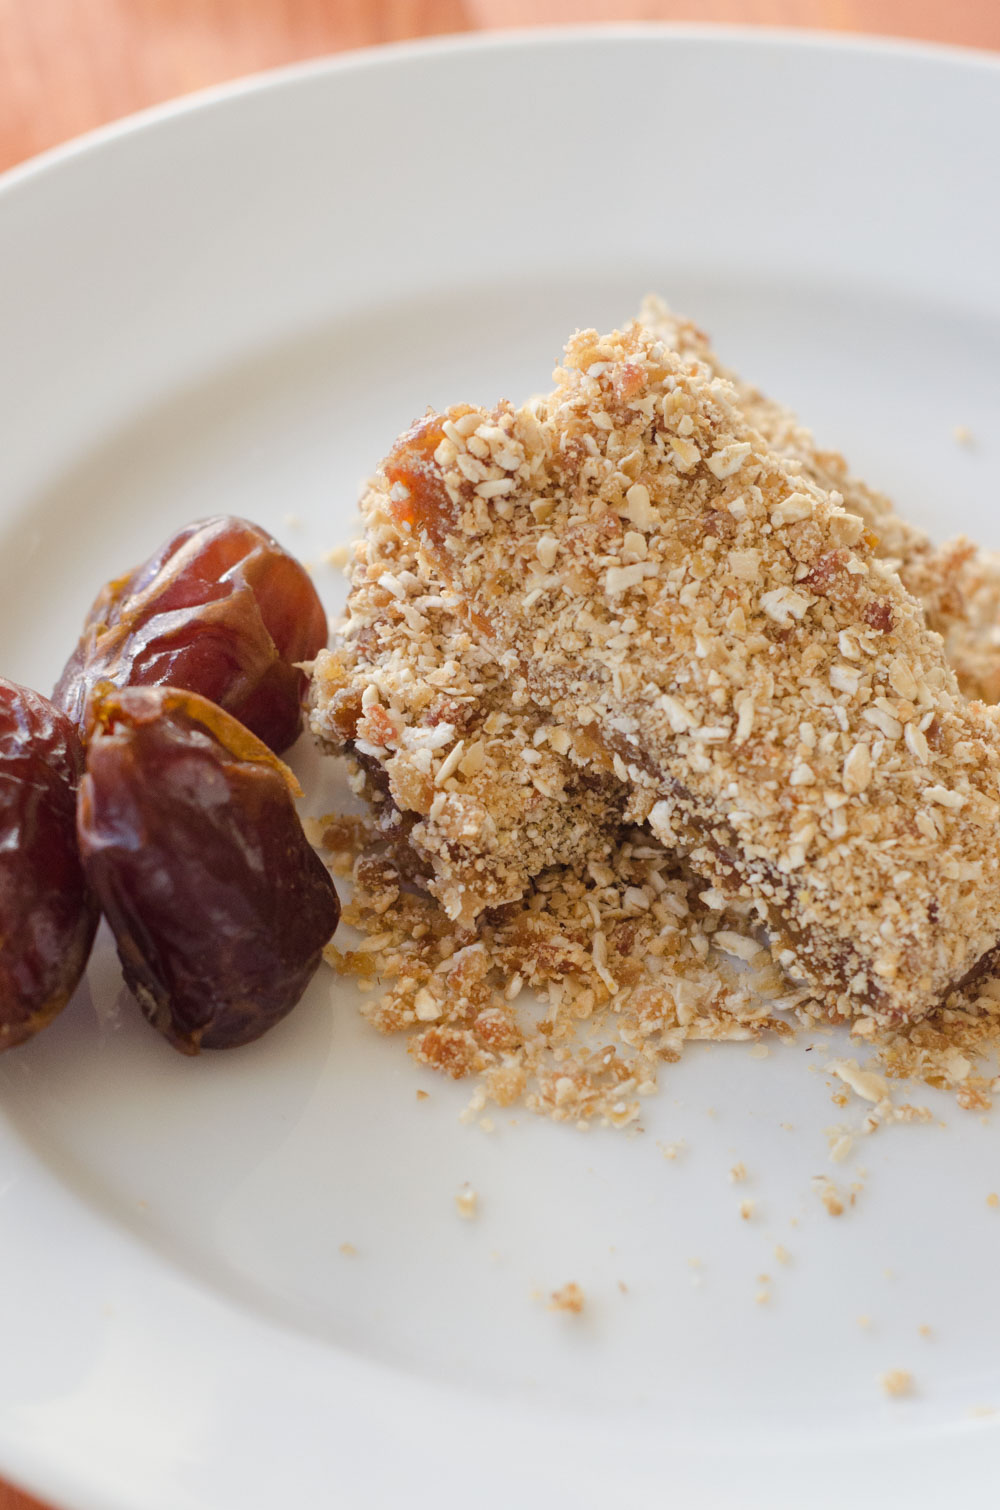
I knew when I went on this elimination diet that I was going to have to come up with some good alternatives for that something sweet that I love to have at night. These date bars were just that. It’s funny that up until about a year ago I have never even tasted a date and now I buy them in bulk and use them almost daily. They are nature’s candy and just perfect. 

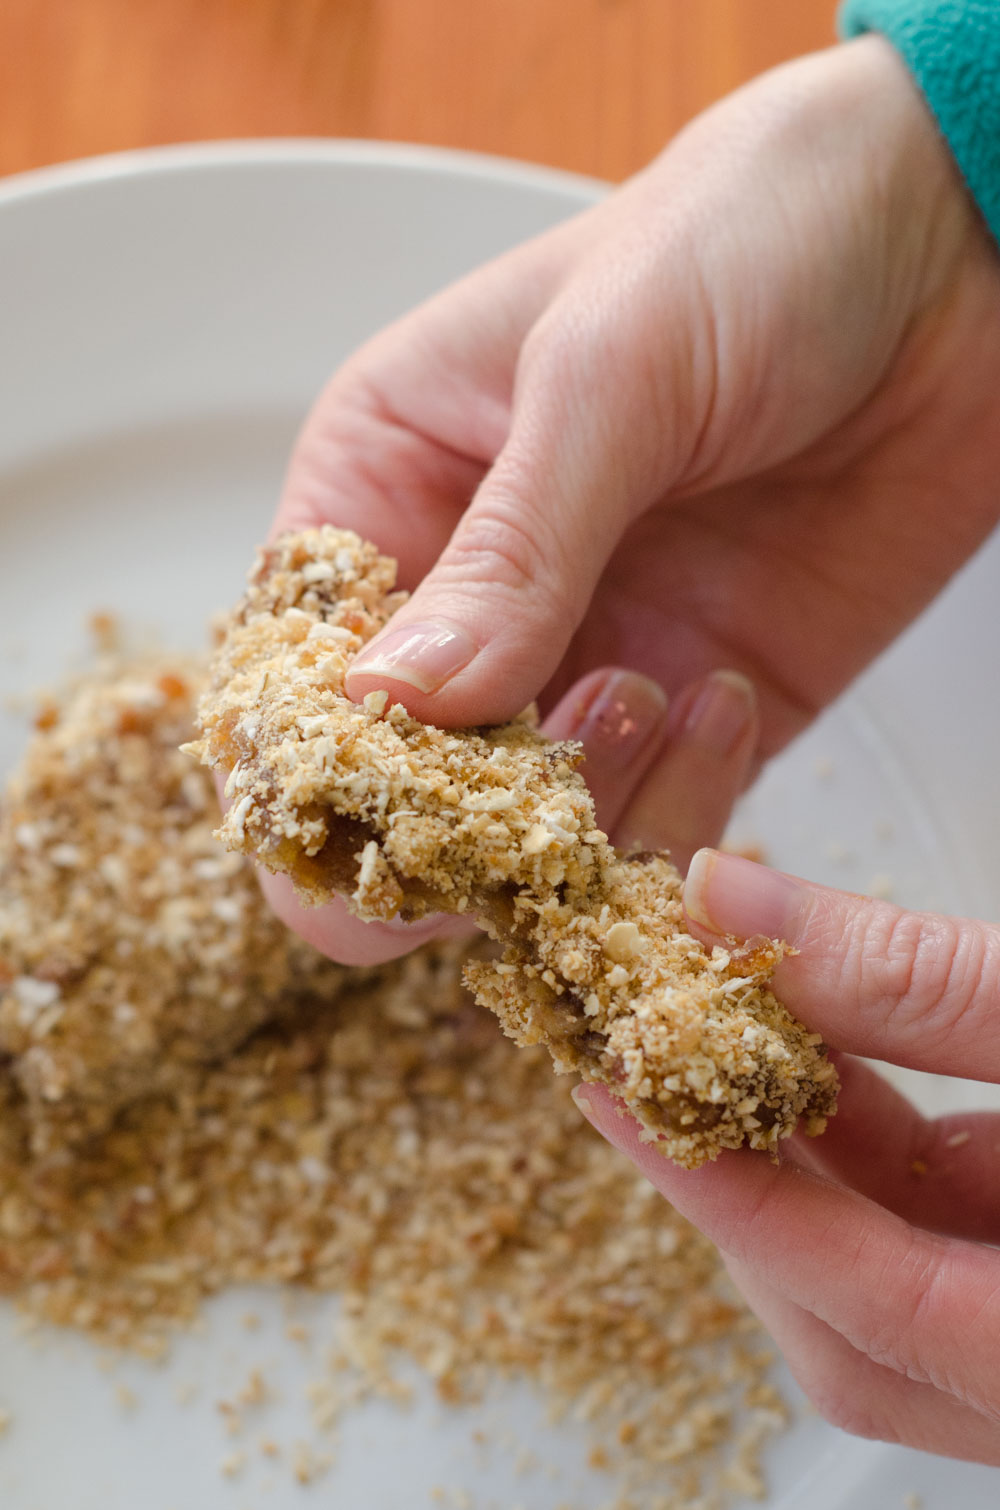
These bars are sweet, but have no added sugar and they have a slightly salty crunchy top and bottom with a soft chewy center. You can store them in the refrigerator or the freezer but I prefer the freezer, they are more firm that way. I love grabbing one for a quick breakfast or snack. It is so important for me to have some healthy options around for when a craving hits so that I won’t open the pantry and eat all the chocolate. 🙂 No seriously, it has happened! 

No Bake Chewy Date Bars

If you are looking for a healthy dessert that does not contain gluten, dairy, soy, sugar, or eggs and only takes about 10 minutes to make then do your self a favor and make these today! 

No Bake Chewy Date Bars
2016-01-04 23:48:56
Yields 10
Write a review
Save Recipe
Print
Prep Time
5 min
Cook Time
5 min
Prep Time
5 min
Cook Time
5 min
For the crust/crumble
  1. 1 1/2 cups Gluten Free Rolled Oats
  2. 1 1/2 cups Organic Brown Rice Crisps
  3. 8 Medjool dates, pitted and chopped
  4. 1/4 cup coconut oil, melted
  5. 1/2 tsp salt
For the filling
  1. 2 cups of Medjool dates, pitted
  2. 1/2 cup water
  3. 1/2 tsp vanilla
  4. 1/4 tsp salt
Instructions
  1. Line an 8x8 baking dish with parchment paper or foil.
  2. Using a food processor pulse the oats and brown rice crisps together until finely ground.
  3. Add in the chopped dates, coconut oil and salt and process until a dough is formed.
  4. Set aside 1 cup of the dough to use as the topping.
  5. Line the baking dish with the rest of the dough, using your fingers to gently press the dough down into the bottom of the pan.
  6. For the filling, combine all of the ingredients into the food processor and process until everything is broken down.
  7. Spread the filling over the crust evenly, then crumble the rest of the topping on the date filling using your fingers to gently press down.
  8. Then cover and place the bars in the freezer for an hour and then enjoy! Store the bars in the freezer.
By Jen @ SavedbytheKale
Adapted from http://detoxinista.com
Saved by the Kale https://savedbythekale.com/

Filed Under: Desserts, Elimination Diet, Gluten Free, Snacks Tagged With: chewy date bars, dairy free, dates, elimination diet, gluten free, soy free, sugar free, vegan

Savory Roasted Plantains

January 3, 2016

Savory Roasted Plantains Recipe

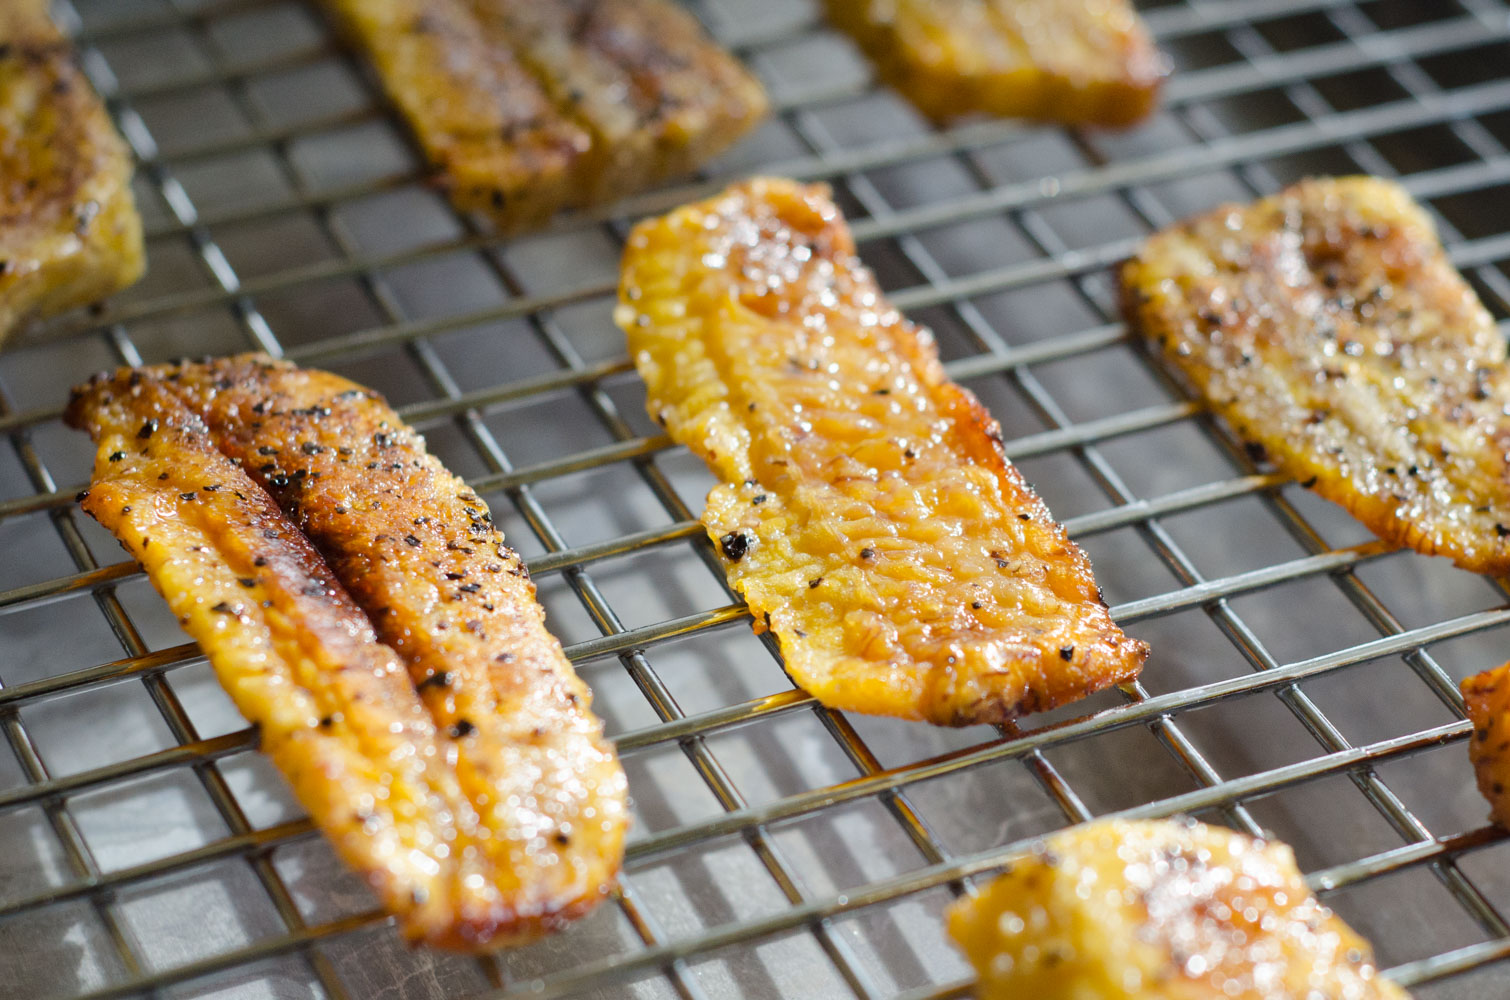
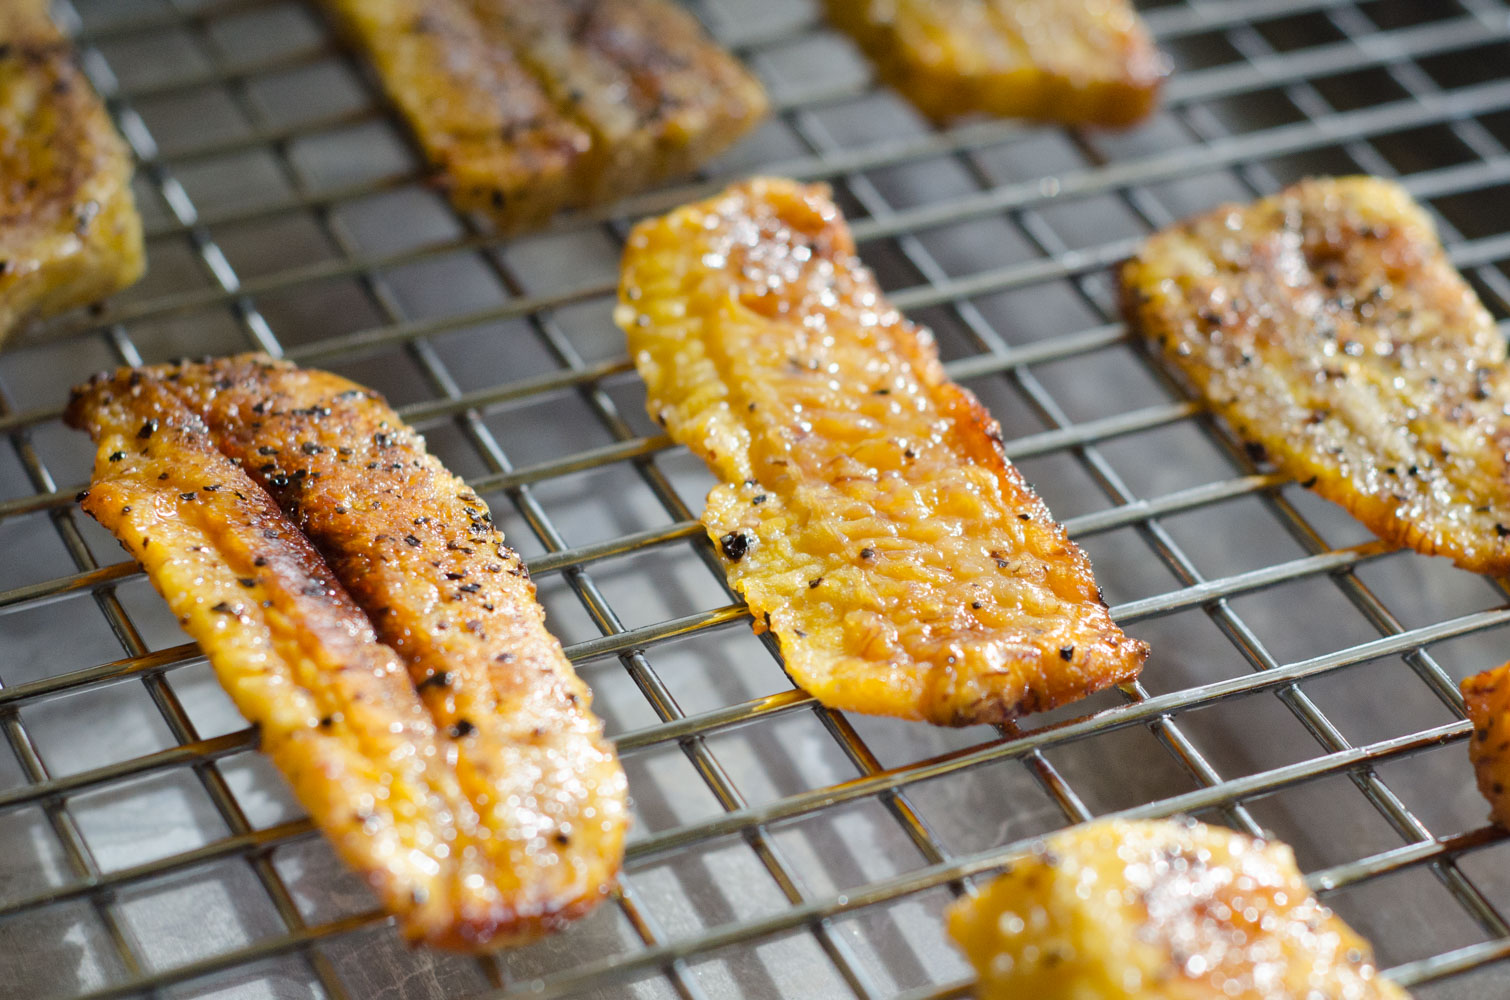
I remember the first time I had a plantain. It was about 7 years ago, we were vacationing in Boca Raton.  We were staying at this fantastic resort and had a cabana for the day complete with a crib for Lily she was around 9 months at the time. I don’t know what it is about being out in the sun and swimming that makes me want to eat everything in sight but it does.  I decided to order a plate of guacamole, yuca, and plantains. The thing is at the time I thought I didn’t like guacamole, and I had never tried yuca or plantains, but at that moment it all looked great! I devoured it and I was in love. Now it is rare that a day goes by that I do not eat an avocado and almost every week I make plantains. 

Savory Roasted Plantains Recipe

They are so easy to make and are delicious. You can make them sweet or savory. Most of the time I go with savory, although they are fantastic either way. I love to have them when I make rice, black beans, and guacamole. Don’t forget the hot sauce. That is a perfect meal to me!

Savory Roasted Plantains
2016-01-01 20:44:53
Serves 2
Delicious and healthy savory plantains!
Write a review
Save Recipe
Print
Prep Time
2 min
Cook Time
23 min
Total Time
25 min
Prep Time
2 min
Cook Time
23 min
Total Time
25 min
Ingredients
  1. 1 plantain
  2. 1-2 tbsp of coconut oil (melted)
  3. 1/2 tsp of garlic powder
  4. salt and pepper to taste
Instructions
  1. Preheat the oven to 415 ºF. Peel the plantain, then cut the plantain in half and then cut each half into fourths. Put the plantains in a bowl then pour the coconut oil over them. Add the garlic, salt and pepper. Toss them all together. Put the plantains on a baking sheet (I line mine with foil to make cleaning up easier). Bake them for 23 minutes, turning them halfway through. Enjoy!
Notes
  1. Plantains are great by themselves as a side dish or with salsa or guacamole.
By Jen @ SavedbytheKale
Saved by the Kale https://savedbythekale.com/

Filed Under: Appetizers, Elimination Diet, Gluten Free, Side Dish, Snacks Tagged With: dairy free, gluten free, paleo, plantains, roasted plantains

Dairy Free Cobbler Recipe

June 22, 2015

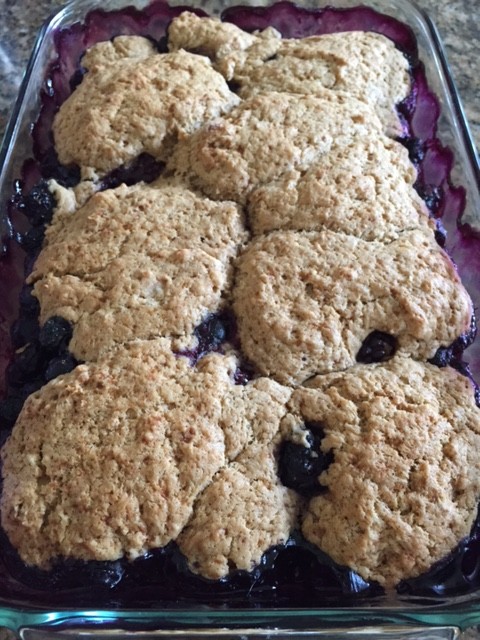
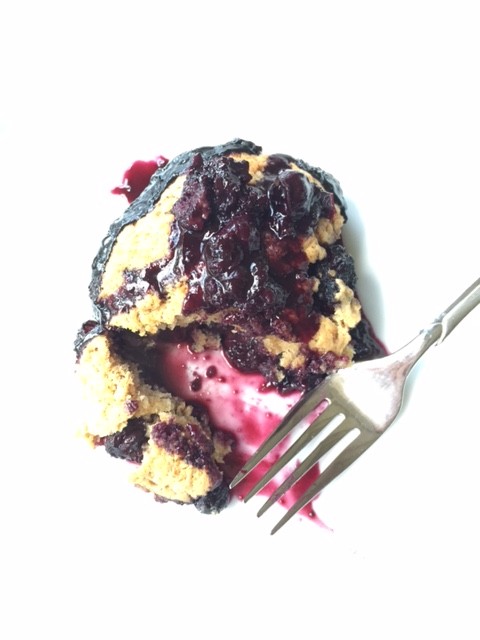
I love summertime and the abundance of fresh blackberries and blueberries! My freezer is now stocked up with frozen berries but I kept some out so I could make a cobbler. I have been craving one like crazy and I knew I wanted to make it dairy free. This recipe has zero dairy and zero refined sugar. The breading on top of the cobbler is absolutely delicious and the berries offer the perfect sweetness! Enjoy!!

Blackberry Cobbler

Dairy Free Berry Cobbler
2015-06-19 13:40:44
Serves 8
A delicious summer time treat using blackberries and blueberries! Dairy free and No refined sugar!
Write a review
Save Recipe
Print
Prep Time
10 min
Cook Time
45 min
Total Time
55 min
Prep Time
10 min
Cook Time
45 min
Total Time
55 min
For the filling
  1. 6 cups of a mixture of blackberries and blueberries
  2. 1/3 cup coconut sugar
  3. 1 Tbs. all-purpose flour
  4. 1 tsp. finely grated lemon zest
  5. Pinch of salt
For the topping
  1. 1 1/4 cups all-purpose flour
  2. 1/3 cup coconut sugar
  3. 2 tsp. baking powder
  4. 1/2 tsp. ground cinnamon
  5. 1/4 tsp. salt
  6. 1 egg
  7. 1/2 cup coconut milk
  8. 6 Tbs. coconut oil, melted and cooled
  9. 1/2 tsp. vanilla extract
Instructions
  1. Preheat an oven to 375ºF. Lightly grease a 2-quart baking dish.
  2. To make the filling, in a bowl, gently toss the berries with the sugar, flour, lemon zest and salt until blended. Pour into the prepared baking dish.
  3. To make the topping, in a bowl, stir together the flour, sugar, baking powder, cinnamon and salt. In another bowl, whisk together the egg, coconut milk, coconut oil and vanilla until well blended. Pour the egg mixture into the flour mixture and, using a rubber spatula, fold gently until the flour is moistened and the mixture forms a soft dough.
  4. Drop heaping spoonfuls of the dough onto the fruit, spacing them evenly; the dough will not completely cover the fruit. Bake until the filling is bubbling, the topping is browned and a toothpick inserted into the topping comes out clean, about 45 minutes. Serve warm or at room temperature.
Notes
  1. Great by itself or topped with dairy free ice cream or coconut whipped cream!
By Jen @ SavedbytheKale
Adapted from Williams Sonoma
Saved by the Kale https://savedbythekale.com/
IMG_4002


Filed Under: Desserts Tagged With: blackberry cobbler, blueberries, cobbler, dairy free, no refined sugar, summer

  • « Previous Page
  • 1
  • 2
  • 3
  • 4
  • 5
  • …
  • 20
  • Next Page »

Hi there!

Hi guys, it's Jen!

I love good food and simple living! Keep Reading…

Search Saved by the Kale

  • Email
  • Facebook
  • Instagram
  • Pinterest
  • RSS
  • Twitter
Follow on Bloglovin

Tasty Food Photography eBook

Features

Infinity Jars

Healthier Alternatives to Store Bought Spice Blends

Cast Iron Pan Pizza Recipe

Homemade Buffalo Chicken Pan Pizza

Chocolate Pumpkin Bread Recipe

Chocolate Chocolate Chip Pumpkin Bread

Copyright © 2025 · Foodie Theme by Shay Bocks · Built on the Genesis Framework · Powered by WordPress